Dify + RAG in Practice: Building a Game Assistant with Self-Hosted Deployment
Dify self-hosted deployment tutorial: selection comparison, WSL+Docker setup, and the RAG application path.
This article is an introductory Dify tutorial for zero-foundation learners. It compares Dify and Coze: Dify supports self-hosted deployment with data staying 100% local, suitable for compliance scenarios; Coze is mainly cloud-hosted with third-party data management. It then details three deployment paths, recommending local deployment on Windows via WSL plus Docker Desktop, and walks through WSL version verification, Docker installation, and Dify container startup. Finally, it outlines the learning path of knowledge base plus workflow to form a RAG game assistant, noting the case is transferable to graduation theses or small projects.
Why Choose Dify Over Coze
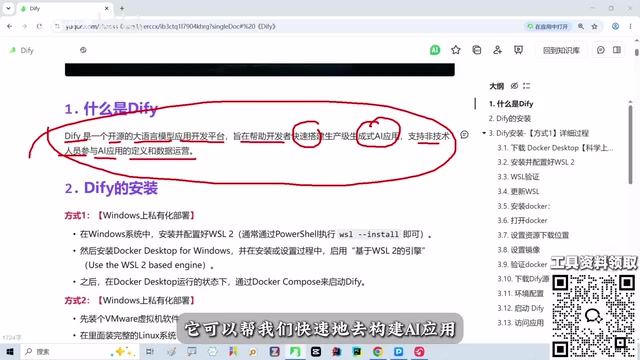
Before getting hands-on, it's worth clarifying the tool selection. According to the Bilibili tutorial author, Dify is an open-source LLM application development platform, whose core value lies in enabling non-technical users to participate in defining AI applications and managing data operations through a zero-code approach.
Compared with the similar Coze, the two take different paths. Coze is primarily cloud-hosted; recent version iterations have made it friendlier to non-programmers, but enterprise data must be managed by a third party. For scenarios with compliance requirements, such as finance and healthcare, this is often unacceptable. Dify, by contrast, supports self-hosted deployment, allowing data to stay 100% on-premises—an advantage the tutorial author repeatedly emphasizes.
The tutorial targets zero-foundation learners, aiming to first understand concepts like agents and knowledge bases in an intuitive way, then transition to code development with frameworks like LangChain. The drag-and-drop visual orchestration serves exactly as this "scaffolding" role.
RAG (Retrieval-Augmented Generation) is a technical architecture that enables LLMs to first retrieve relevant document fragments from an external knowledge base before generating an answer, then combine these fragments to produce the response. Its core value lies in solving the "outdated knowledge" and "hallucination" problems of LLMs: the model itself does not store private data but obtains evidence through real-time retrieval. In platforms like Dify, RAG is typically implemented jointly by the "Knowledge Base" module (responsible for document upload, splitting, and vectorization) and the "Workflow" module (responsible for orchestrating retrieval and generation steps). For enterprise scenarios, RAG allows models to answer based on internal documents while avoiding the high cost of fine-tuning.
Three Self-Hosted Deployment Paths and Their Trade-offs
Dify officially provides multiple installation methods, and the tutorial focuses on comparing three of them.
The first is local deployment on a Windows machine via WSL plus Docker Desktop. This is the author's most recommended approach—just install a few pieces of software and it runs, with data fully under your control.
The second is deployment in a virtual machine. This approach is heavier; the VM alone consumes considerable disk space, though it also achieves data localization. The author personally doesn't recommend it much, as it's too heavy a burden for beginners.
The third is directly using the official cloud service. Data is stored on servers in the US East region, and the author explicitly does not recommend it—almost everyone prefers their demos or real enterprise data to be 100% local.
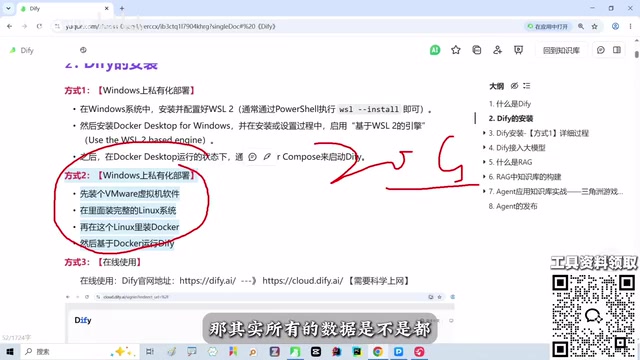
Behind this trade-off is actually a common misconception: many people treat "whether it can run" as the only criterion, ignoring data sovereignty. Once real business data is involved, the cost of hosted solutions shifts from "convenience" to "compliance risk."
Preparing the WSL and Docker Environment
After choosing option one, the first step is to install Docker Desktop, and before that, you need to configure WSL. The tutorial's process is: in Control Panel's "Programs," find "Turn Windows features on or off," check the relevant options, then enter wsl --version in the console to verify.
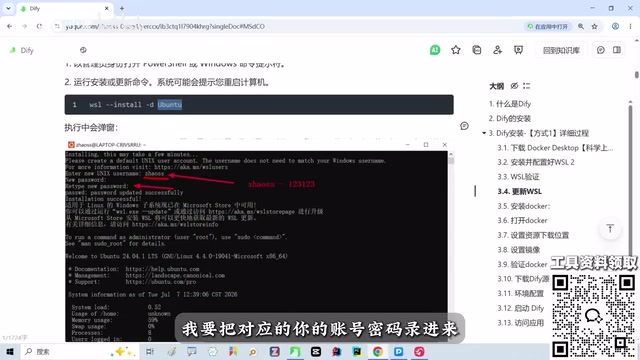
If it prompts that the option is invalid, it means the current WSL is the default version and doesn't support the command, so you need to upgrade via the update command. During the update, Ubuntu will be installed along the way, and you'll be asked to set an account and password—the author reminds you it doesn't need to match the demo; just set your own. Exit with exit and verify the version again; if valid, continue; if not, repeat the update.
Once WSL is ready, install Docker Desktop by following the wizard's next steps, then restart the machine after installation. On first run, a welcome screen appears; just skip it without registering or logging in. A "running" indicator in the lower-left corner means the Docker engine has started properly.
This step is where zero-foundation learners most easily get stuck. The author's advice is straightforward: don't get bogged down in the principles of Docker and WSL on the main learning path; first follow the notes to get the environment running, and fill in the details later. This "get it running first, understand later" strategy is indeed more efficient for tool-based learning.
WSL (Windows Subsystem for Linux) is a compatibility layer built into Windows 10/11 that allows users to run a Linux environment directly on Windows without installing a dual-boot setup or a full virtual machine. WSL 2 uses lightweight virtual machine technology and provides near-native Linux kernel compatibility, making it the recommended backend for running Docker Desktop. When installing WSL, the system installs a Linux distribution (such as Ubuntu) by default, and users need to set a separate username and password, unrelated to the Windows account. The wsl --version command is used to check the WSL version; if it prompts invalid, it usually means the system is still using the old WSL 1, which needs to be upgraded via wsl --update.
Starting Dify on Docker
Once Docker is running properly, go to the container settings, pull the image using the commands in the notes, then configure Dify's source code and environment variables. The tutorial emphasizes that the notes were just compiled, so following the process strictly generally won't cause problems.
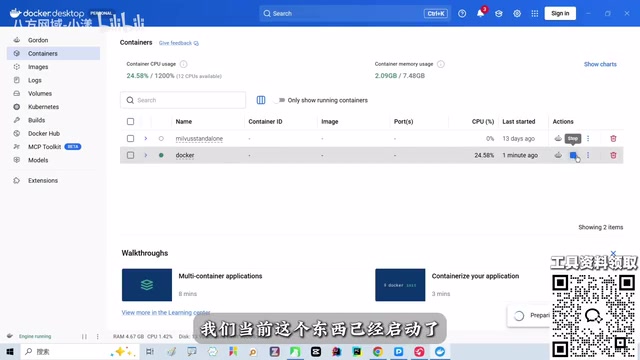
After startup, you can see Dify's container in a running state. The author compares it with earlier deployment methods and considers the current approach more lightweight, unlike the past which consumed memory and was troublesome. Then access the Dify service via the path provided in the notes; on first use, you need to set a username, password, and email.
After logging in, you can see modules such as the homepage, Studio, Knowledge Base, Integrations, and Marketplace. The author cleared all content before class, preparing to configure from scratch during the lesson, which also makes the demonstration closer to a real beginner's starting point.
Docker images are read-only templates that package an application and its dependencies (code, runtime, libraries, environment variables), while containers are running instances of images. Pulling the Dify image means downloading the official pre-built Dify service template from an image registry. Environment variables are configuration parameters injected when a container starts, such as database connection strings, keys, and ports; Dify's deployment scripts typically manage these via a .env file. Using docker compose, you can start multiple related containers of Dify (API, frontend, database, etc.) at once, achieving one-click deployment. This containerized approach ensures environmental consistency and avoids the "it works on my machine" problem.
Approach to Building from Knowledge Base to Workflow
The tutorial's ultimate goal is to build a dedicated assistant for the game "Delta Force," with the path being knowledge base plus workflow. Although the original text devotes more space to environment deployment, the overall design logic is clear: first inject game-related materials through the knowledge base, then orchestrate the retrieval and generation process with workflows to form a RAG application.
For zero-foundation learners, the value of this path lies in its transferability. The author mentions that after getting this case running, it can be directly reused for graduation theses or subsequent small projects. The knowledge base handles "feeding the material," the workflow handles "orchestration," and the agent handles "decision-making"; together, the three form a complete AI application skeleton.
It should be noted that the currently public content of this tutorial mainly covers tool selection and environment deployment; the specific operations of knowledge base construction and workflow orchestration have not yet been expanded. It's recommended to follow up with the complete notes for subsequent steps.
One-line Summary
Dify self-hosted deployment tutorial: selection comparison, WSL+Docker environment setup, and the RAG application path.
Paragraph Summary
This article is an introductory Dify tutorial for zero-foundation learners. It first compares the path differences between Dify and Coze: Dify supports self-hosted deployment, allowing data to stay 100% local, suitable for compliance scenarios like finance and healthcare; Coze is primarily cloud-hosted, with data managed by a third party. It then details three deployment paths, recommending local deployment on Windows via WSL plus Docker Desktop, and walks through WSL version verification, Docker installation, and Dify container startup. Finally, it outlines the learning path of "knowledge base injecting materials + workflow orchestrating retrieval and generation" to form a RAG game assistant, emphasizing that the case is transferable to graduation theses or small projects.
Related articles
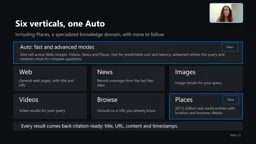
Microsoft WebIQ: Verifiable Real-Time Web Grounding for AI Agents
Microsoft WebIQ gives AI Agents real-time, citable web grounding across web, news, images, videos, and Places—164ms P95 latency, 50% fewer tokens, Scopes source control, and MCP integration.
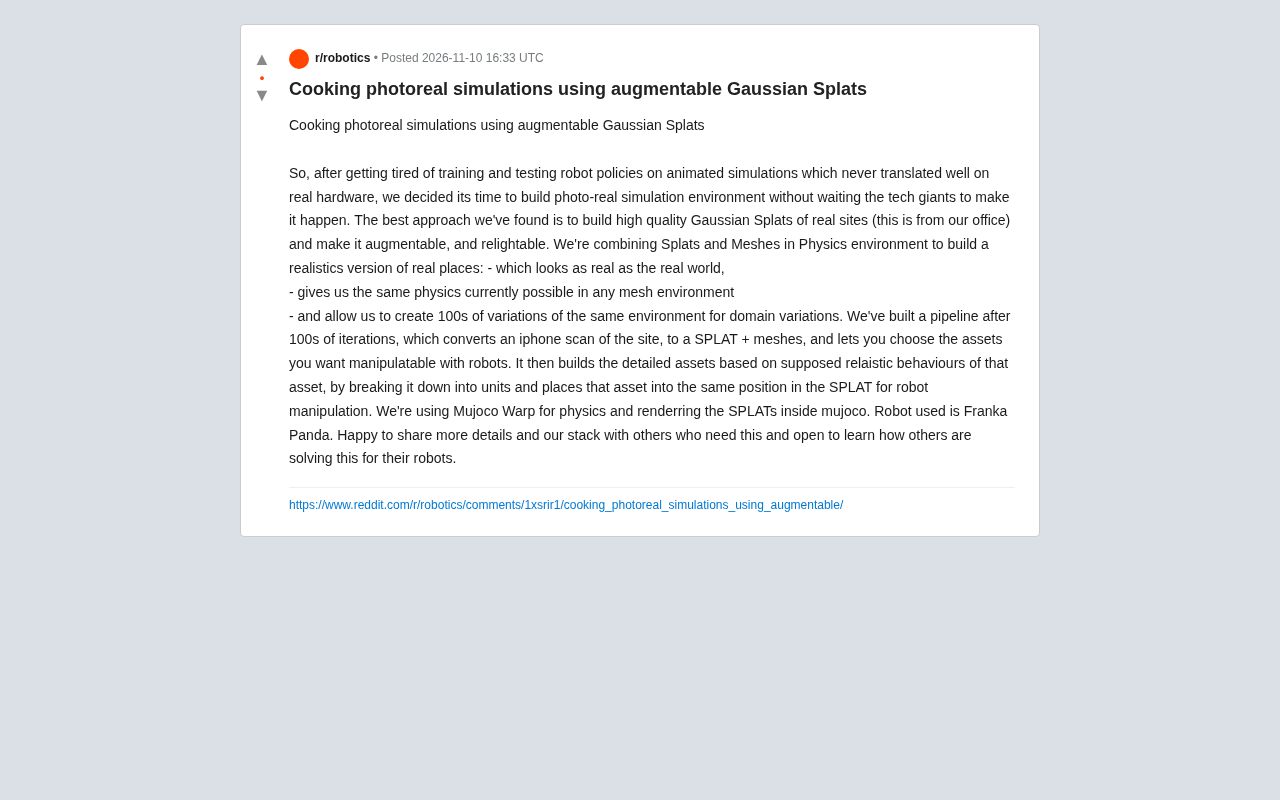
Augmentable Gaussian Splatting: Building Photorealistic Simulation Environments for Robot Training
Team combines Gaussian Splatting with meshes to build photorealistic robot simulation environments, integrating MuJoCo Warp physics and Franka Panda for augmentable, relightable real-site simulation.

Gemini 4 Carbon Released: The Leap from Gemini 3 to Gemini 4 in Under a Year
Google releases Gemini 4 Carbon, less than a year after Gemini 3. In the official demo, Carbon reverse-engineered the Theme Park binary, added a new DeepMind-themed ride, and ported it to the web in one shot.