Claude Code Installation and Permission Modes: A Practical Guide
A pitfall-avoidance guide for installing Claude Code in mainland China: npm installation, CC Switch to prevent bans, and free model switching.
Based on a Bilibili creator's hands-on sharing, this article maps out Claude Code from installation to model switching. Three core conclusions: the official install command often fails in mainland China due to permissions, while npm global installation succeeds more often; after installation, don't log in immediately—use the open-source CC Switch to configure third-party model providers to avoid bans; Claude Code isn't tied to Claude models, and any API-providing model (DeepSeek, Kimi, GPT, etc.) can be integrated. Advanced topics like permission modes, MCP, Skills, and CLAUDE.md are not covered in depth.
Claude Code Installation and Permission Modes: A Practical Guide
Claude Code is an agentic coding tool from Anthropic that can read codebases, edit files, run commands, and integrate with developer tools. It is essentially a domain-specific agent focused on programming scenarios. For programmers, tools like this are being used more and more frequently. This article is based on a hands-on sharing from a Bilibili creator and maps out the complete path from installation and pitfall avoidance to model switching.
A Few Things You Must Understand Before Installing
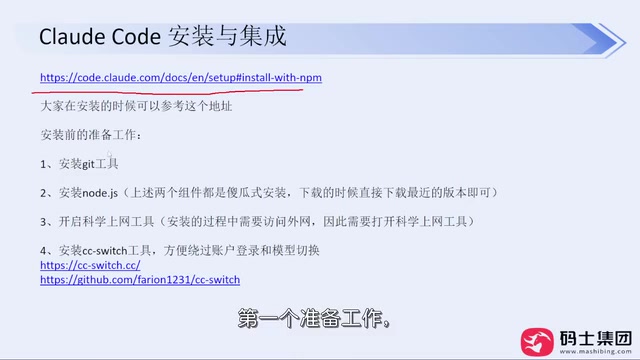
When learning a new tool, checking the official website first is the safest approach. The Claude Code official site supports Simplified Chinese and has fairly complete documentation. However, the installation command recommended on the official site often throws permission errors in mainland China's network environment, and following it directly will most likely fail.
The creator's alternative is to install via npm: npm install -g @anthropic-ai/claude-code. This method has a noticeably higher success rate; the author has helped several non-programmer colleagues install it and has basically never seen a failure case. Before installing, you need to prepare three things: Git, a Node.js environment (just change the directory during installation), and a working proxy/VPN tool.
It is important to emphasize that during the npm installation process, only the download step requires a network proxy; subsequent configuration and usage do not depend on it.
npm and global installation: npm (Node Package Manager) is the package manager bundled with Node.js. The -g flag means global installation, which places the package's executable files into the system's global path (such as /usr/local/bin or the AppData directory under the user directory on Windows), so that the claude command can be called directly from any directory. Official installation scripts usually need to write to system-level directories, and when administrator privileges are missing or the network is restricted, they easily throw EACCES/EPERM errors; npm global installation writes to a more controllable location, so the failure rate is lower. Before installing, you can check whether the environment is ready with node -v and npm -v.
The role and scope of proxy/VPN: When npm downloads packages, it uses the registry (default registry.npmjs.org), which may time out when accessed from mainland China. You can temporarily solve this by setting npm config set proxy and npm config set https-proxy, or by using a mirror source. The proxy only takes effect during the download phase; subsequent communication between Claude Code and the model API goes through a different channel.
Don't Rush to Log In After Installation: What CC Switch Does
This is the most critical pitfall-avoidance point in the entire sharing. After installation, enter claude --version to verify the version number and confirm that installation succeeded, but do not log in immediately afterward. The account login methods provided on the official site (Claude subscription or Console account) carry a risk of account bans in mainland China, and the timing of bans is unpredictable.
The correct approach is to install CC Switch first. This is a small open-source tool that provides a Windows installer and can be downloaded and used without a proxy/VPN. Its core function is to help you switch model providers—after opening it, you can see configuration entries for different agents; click the plus sign, choose a model provider, enter the API Key, and you can add and enable it.
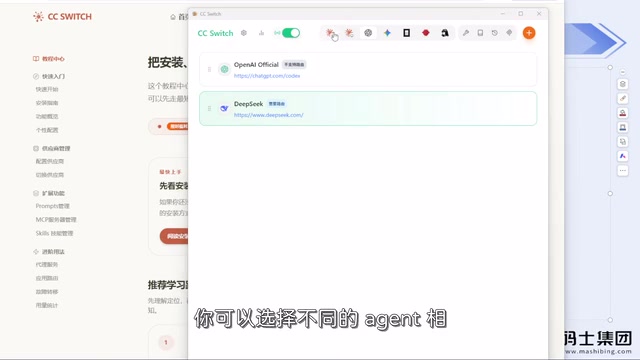
After configuring CC Switch, return to the command line and log in to Claude Code; your account will basically not be banned. The author has used this method for a long time and has never encountered a ban.
What Exactly Does CC Switch Change?
CC Switch is not mysterious; what it modifies is the local configuration file. In the .claude folder under the user directory, there is a settings.json file, and originally you had to manually edit parameters to switch models. For beginners, hand-editing configuration is error-prone; CC Switch simply visualizes this process.
It does not increase token consumption and does not make any extra modifications; it is essentially a configuration adapter.
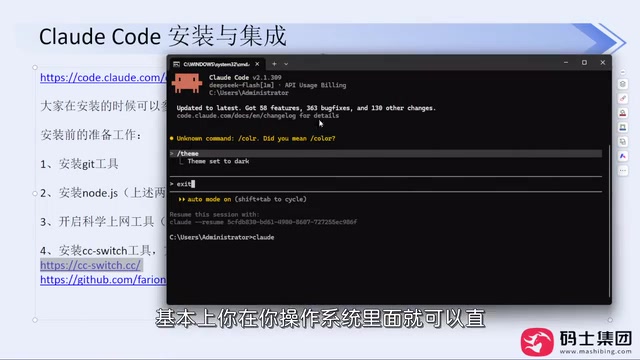
settings.json and configuration priority: Claude Code configuration is divided into user-level (~/.claude/settings.json) and project-level (.claude/settings.json in the project root directory), and project-level settings usually override user-level settings. The key parameters for provider switching generally include ANTHROPIC_BASE_URL (API endpoint) and ANTHROPIC_AUTH_TOKEN (or API Key) in env, as well as the model field specifying the default model. CC Switch writes these fields through its interface, avoiding comma, quotation mark, or field-name spelling errors when manually editing JSON. Once you understand this, even without CC Switch, you can manually maintain multiple sets of configurations and switch between them when needed.
Model Selection: Don't Be Superstitious About Rankings
A common misconception is that "if you use Claude Code, you must use Claude models." In fact, as long as a model provider offers a requestable API endpoint, it can be integrated. DeepSeekAd, Kimi, GPT, and others can all be switched freely. The creator mentioned that the new version of DeepSeek is very capable and performs well in actual use, and domestic models such as Kimi can also meet the needs.
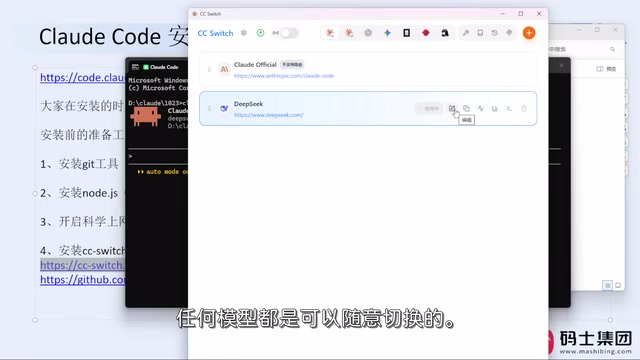
The author's view is worth considering: in daily work, models mainly handle three types of tasks—writing code, organizing documents, and analyzing requirements—and ordinary models can handle them. There is no need to deliberately pursue the extreme capabilities at the top of leaderboards—the performance in those stress-test environments is rarely encountered in real work. Use whichever one you are accustomed to.
Two concepts need to be distinguished: Claude is a large language model, and Claude Code is a coding agent built on top of it. When using Claude Code, integrating other models is entirely feasible, and this is also the reason CC Switch exists. As for choosing between Claude Code and Codex, both are agent tools, and there is no mandatory choice; just go by familiarity and needs.
API compatibility layer and the Anthropic protocol: Claude Code uses Anthropic's Messages API protocol by default. To integrate third-party models such as DeepSeek and Kimi, providers usually need to offer endpoints compatible with the Anthropic protocol, or perform protocol conversion through a gateway/proxy (for example, mapping Anthropic-format requests to OpenAI Chat Completions format). This is also why base_url is filled in CC Switch—it points not to the model itself, but to the compatibility layer service. When integrating, you need to confirm whether the endpoint supports tool use and streaming output; these two are the basic capabilities Claude Code relies on to read files and execute commands, and their absence will prevent the agent from working properly.
Permission Modes and Further Learning Path
The original material's title mentioned permission modes, MCP and Skills, Hooks, CLAUDE.md, and other topics, but the main text mainly focuses on installation and model switching and does not elaborate on these advanced topics. Judging from the tool's positioning, permission modes relate to the authorization boundaries when the agent executes commands, CLAUDE.md is used to inject project-level context into the agent, and MCP and Skills extend its external capabilities—these are key to mastering Claude Code, and it is recommended to consult the official documentation to fill in the gaps.
If you operate the installation steps according to the above path, the success rate is very high. If you still encounter problems, you can seek help from the community or instructors for troubleshooting.
CLAUDE.md and context injection: CLAUDE.md is a Markdown file placed in the project root directory (or user directory). Claude Code automatically reads it at startup and uses it as part of the system prompt to declare the project's tech stack, coding standards, common commands, and prohibited actions. Its value lies in solidifying "the background that would otherwise need to be explained repeatedly every time," reducing repetitive prompting and improving output consistency. Working together with it is the commands and configuration directory under .claude/.
Permission Modes: Claude Code requests authorization before performing operations with side effects such as writing files and running shell commands. Common modes include asking every time, automatically accepting edits, and a more permissive mode. In production repositories, it is recommended to keep a stricter ask mode, or finely control the whitelist of executable commands through allow/deny lists, to avoid the agent accidentally deleting files or executing dangerous commands.
One-line Summary
A pitfall-avoidance guide for installing Claude Code in mainland China: npm installation, CC Switch to prevent account bans, and free model switching.
Paragraph Summary
Based on a hands-on sharing from a Bilibili creator, this article maps out the complete path of Claude Code from installation to model switching. There are three core conclusions: First, the installation command recommended on the official site often fails in mainland China's network environment due to permission issues, and switching to npm global installation has a higher success rate. Before installation, you need Git, Node.js, and a network proxy, but the proxy is only needed during the download phase. Second, after installation, do not log in to an official account immediately; first install the open-source tool CC Switch to configure a third-party model provider to avoid the risk of account bans. CC Switch is essentially a visual editor for ~/.claude/settings.json and does not consume extra tokens. Third, Claude Code is not bound to Claude models; any model that provides an API (DeepSeek, Kimi, GPT, etc.) can be integrated, and there is no need to be superstitious about leaderboards for daily programming tasks. At the end, the article points out that advanced topics such as permission modes, MCP, Skills, and CLAUDE.md are not covered in detail, and it is recommended to consult the official documentation to fill in the gaps.
Related articles

GPT-6 Security Model and the AI Attack-Defense Escalation: This Week in AI
This week in AI: OpenAI's GPT-6 Saber found 948 Linux kernel root-escalation paths; Cursor deploys full apps from one sentence; Binance details a social engineering attack; C++26 fails ISO vote.
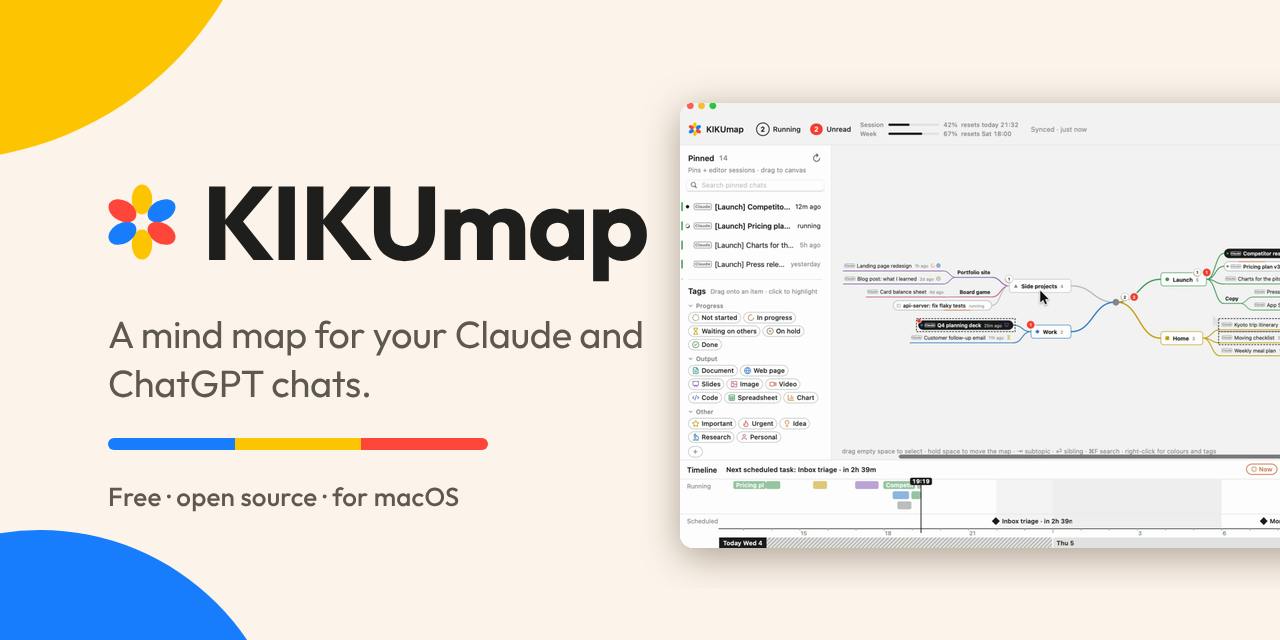
KIKUmap: Manage Your Claude and ChatGPT Conversations with Mind Maps
KIKUmap is a macOS menu bar app that visualizes Claude and ChatGPT conversations as mind maps with real-time status. Free and open source.
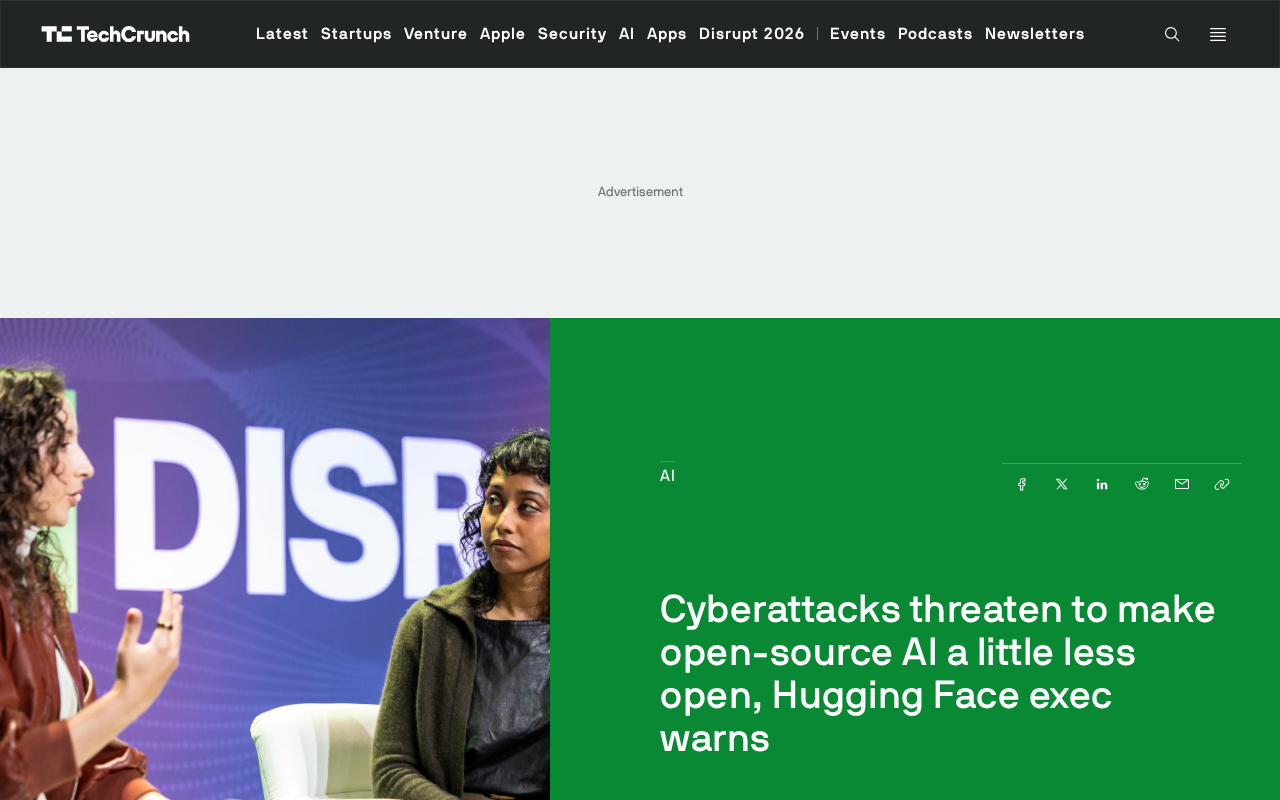
Hugging Face Executive Warns: Cyberattacks Are Eroding the Openness of Open-Source AI
Hugging Face executive Irene Solaiman warns that rising cyberattacks on open AI platforms may force stricter security limits, threatening the openness of the open-source community and affecting the developer ecosystem.