AI Image Upscaling Tested: One-Click Photo Enhancement with Stunning Results

AI image enhancement restores blurry photos to sharp clarity with a single click.
AI image enhancement leverages super-resolution reconstruction technology, using deep learning models to intelligently restore missing details in blurry photos. Users simply import a photo, choose between HD and Ultra HD modes, and click generate. Real-world testing shows that casually taken blurry photos gain significantly improved clarity with noticeably restored details. The feature is ideal for everyday snapshots, old photo restoration, and low-quality web image enhancement — a practical tool anyone can use without professional skills.
The Savior of Blurry Photos: AI Image Enhancement
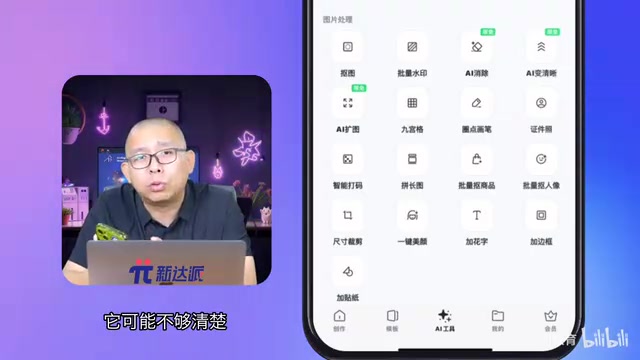
Photos taken on the go often end up blurry with lost details — whether due to poor lighting, shaky hands, or device limitations. It's something nearly everyone has experienced. In the past, improving the clarity of such photos typically required professional software like Photoshop and considerable editing skills. Now, AI image enhancement technology makes it incredibly simple: import a photo, click a button, and watch a blurry image come back to life.
This article walks you through the entire process of enhancing a real photo, showing you how the AI enhancement feature works and what results you can actually expect.
AI Image Enhancement: A Detailed Look
Use Cases and Applications
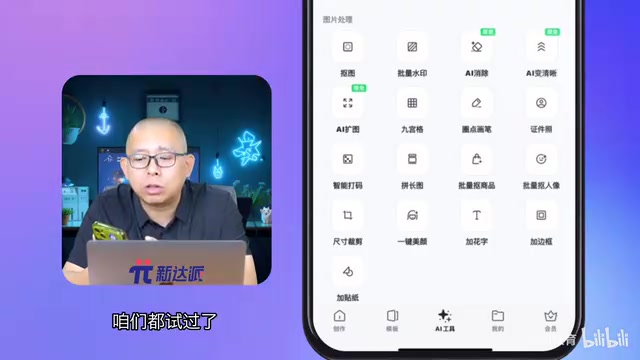
AI image enhancement is one of the core features in image processing tools, sitting alongside background removal, batch watermarking, and AI object removal. Its purpose is straightforward — using AI algorithms to make blurry images sharper and clearer.
The most common use cases include:
- Casual everyday photos: Quick snapshots taken at gatherings or meals, where image quality is often less than ideal
- Old photo restoration: Low-resolution photos from early smartphones or cameras that deserve a second life
- Low-quality web image enhancement: Compressed images saved from social media or websites with severe detail loss
- Small image upscaling: Images that are too small in their original size and become pixelated when enlarged
It's worth explaining why web images generally have such poor quality. JPEG format uses lossy compression, applying Discrete Cosine Transform (DCT) to divide images into 8×8 pixel blocks for compression. The higher the compression ratio, the more pronounced the blocking artifacts and color distortion become. Social media platforms (like WeChat and Weibo) apply additional compression when users upload images — a 5MB original photo might be compressed down to a few hundred KB, permanently discarding a massive amount of detail. Additionally, early smartphone CMOS sensors had small sizes and low pixel density, producing photos with extremely low signal-to-noise ratios in dim lighting that inherently lacked detail. AI image enhancement technology is designed to address these various sources of quality degradation, attempting to recover visual information as close to the original scene as possible from degraded images.
How It Works: Done in Three Steps
The entire process is remarkably simple and requires zero editing experience:
- Access the feature: In the image processing module, click the "AI Enhancement" option
- Import your image: Select the image file you want to process — common formats like JPG and PNG are supported
- Choose the clarity level: The system offers two tiers — "HD" and "Ultra HD" — choose based on your needs
- Click generate: Confirm your selection and click the generate button, then wait for the AI to finish processing
- View the comparison: Once processing is complete, you can directly view the before-and-after comparison

Real-World Results: How Much Clearer Can a Blurry Photo Get?
Before and After Comparison
For this test, I used a photo casually taken during a meal — the kind of photo that best represents the typical "not-quite-good-enough quality" we deal with daily. After AI enhancement, the improvement was clearly visible to the naked eye:
- Overall image: Clarity significantly improved with a noticeably higher resolution
- Detail rendering: When zoomed in, previously blurry and soft areas became sharp and crisp, with food textures and utensil details well restored
- Visual impression: From "somewhat fuzzy" to "remarkably clear" — a tangible leap in image quality

HD vs. Ultra HD: Which Should You Choose?
The tool offers two tiers — "HD" and "Ultra HD." Here's how to decide in practice:
- HD: Best for everyday scenarios like sharing on social media or sending in chats. Processing is faster, and the quality improvement is already more than sufficient
- Ultra HD: Best for print output, large-screen display, or situations demanding higher image quality. The resolution boost is significantly greater, but processing time is correspondingly longer
From a technical standpoint, the difference between these two tiers goes beyond just "a bit clearer" versus "even clearer." The HD option typically corresponds to 2x super-resolution (e.g., upscaling from 1080×720 to 2160×1440), using a lighter model with faster inference. Ultra HD may correspond to 4x or even higher upscaling factors, employing models with more parameters and deeper layers that can recover finer textures and edge information — but at a proportionally higher computational cost. It's worth noting that the higher the upscaling factor, the more information the AI needs to "infer," and the generated details may include more content "imagined" by the model (known as "hallucination"). So higher isn't always better — you need to weigh the trade-offs based on your actual use case.
The recommendation: HD is sufficient for everyday sharing; save Ultra HD for when you need high-quality output.
The Technology Behind AI Image Enhancement
The core technology powering AI image enhancement is Super-Resolution (SR) reconstruction. This technology uses deep learning models trained on massive datasets of high-resolution and low-resolution image pairs to learn the mapping relationship between them, intelligently "inferring" and filling in missing details from low-resolution images.
Super-resolution reconstruction is one of the classic problems in computer vision, tracing back to signal processing research in the 1960s. Early methods relied on mathematical algorithms like bilinear and bicubic interpolation, which could only mechanically fill in pixels without truly recovering lost high-frequency details. In 2014, a research team from The Chinese University of Hong Kong proposed SRCNN (Super-Resolution Convolutional Neural Network), the first application of deep learning to super-resolution, ushering in a new era of AI-driven image enhancement. Since then, models like ESRGAN, Real-ESRGAN, and SwinIR have continued to iterate, bringing processing quality from the lab to consumer-grade applications. Modern super-resolution models typically use a Generative Adversarial Network (GAN) architecture, where the generator infers high-resolution details from low-resolution images while the discriminator evaluates whether the generated results look realistic enough — both improving through adversarial training.
Compared to traditional image upscaling methods (simple interpolation algorithms), AI super-resolution technology offers a key advantage: it doesn't just increase pixel count — it intelligently restores edge contours and texture information, and can even remove noise and motion blur to some extent, making processed images look natural and clear rather than simply "bigger but still blurry."
To understand this fundamental difference, consider this analogy: traditional interpolation is like enlarging a mosaic painting — each color block gets bigger, but the image doesn't actually become clearer. AI super-resolution works differently. During training, the model learns the mapping from "low-resolution features → high-resolution details" across millions of images. For example, after seeing vast quantities of clear hair, text, and architectural textures, when the model encounters a blurry region with similar characteristics, it can "fill in" plausible high-frequency details based on learned prior knowledge. This is why AI-processed images don't just become larger — they genuinely look clearer and more natural.
Conclusion: A Photo Rescue Tool Worth Trying
AI image enhancement provides everyday users with an incredibly convenient photo improvement solution. No need to learn Photoshop, no need to master editing techniques — just select your photo, click generate, and enjoy a noticeable boost in image quality.
For those "good enough" casual shots on your phone, old photos from years past, or low-quality images saved from the web, this feature is a practical rescue tool. As AI image processing technology continues to advance, these tools will only get better and faster — definitely worth keeping an eye on.
Related articles
 Tutorials
Cursor + Codex Dual-IDE Collaboration: A Practical Methodology for Open-Source Project Customization
A complete methodology for open-source project customization based on real-world experience, detailing the Cursor+Codex dual-IDE workflow, seven-stage process, MVP validation, and AI source code reading techniques.
 Tutorials
Cursor Multi-Agent in Practice: Building a Full-Stack Next.js Blog in 50 Minutes
Build a full-stack blog in 50 minutes using Cursor IDE's multi-Agent mode with Next.js, Clerk auth, and Supabase. Learn the 4-phase AI Agent workflow and key integration pitfalls.
 Tutorials
Building an AI Software Factory from Scratch: A Cursor Engineer's Hands-On Experience with Multi-Agent Collaboration
Cursor engineer Eric shares practical insights on building an AI software factory: automation levels, guardrail design, parallel Agent management, and scaling to 1000+ Agents for 24/7 development.