Claude Code 1.7+ Third-Party API Locked: Solutions

Unlock third-party model APIs in Claude Code 1.7+ by setting the CLAUDE_ENV environment variable
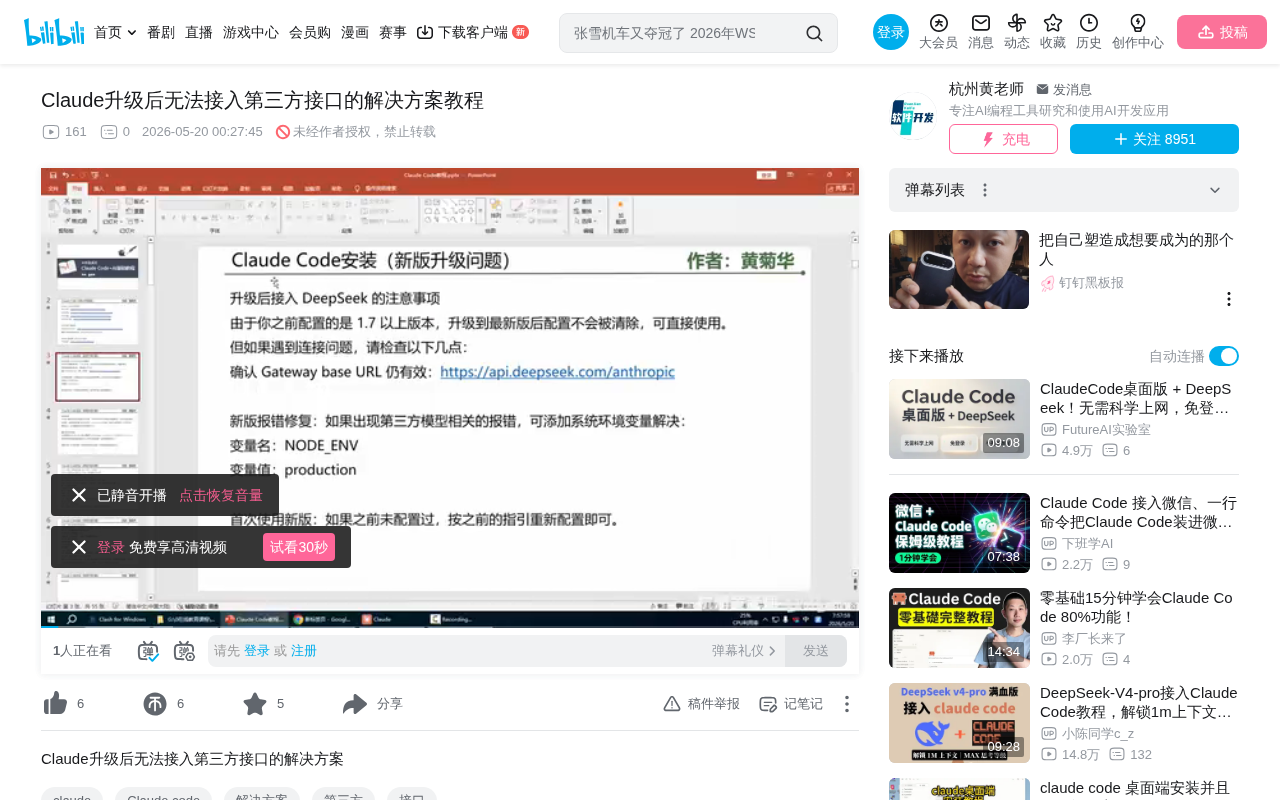
After upgrading to version 1.7, Claude Code's new runtime environment detection mechanism prevents third-party model APIs (like DeepSeek) from being configured. The fix is to add a system environment variable CLAUDE_ENV=development, which runs the client in development mode and unlocks third-party API configuration in the Gateway. This can be done either through the Windows System Settings GUI or by running the setX command in an admin PowerShell session.
Background
After Claude Code's recent update to version 1.7, many users discovered that previously functional third-party model APIs (such as DeepSeek) could no longer be configured. This is because the new client introduced a runtime environment detection mechanism that automatically locks third-party model features in production mode.
If your Claude Code version is 1.53 or below, you can still configure third-party APIs (like DeepSeek) in the Gateway the usual way. However, once you upgrade to 1.7 or above, you'll need to set an environment variable to resolve this issue.
It's worth noting that Claude Code iterates quite frequently, and the jump from 1.53 to 1.7 introduced significant architectural changes. Using environment detection to restrict features is not uncommon in commercial software—it's typically done for security compliance, API governance, or business strategy reasons. For users who rely on third-party model APIs, it's recommended to review the Changelog before upgrading to assess whether it will impact your existing workflow. You might also consider using version management tools or keeping old installation packages as a rollback option to avoid work interruptions caused by upgrades.
Root Cause Analysis
The new version of Claude's desktop client detects the current runtime environment:
- Production: Third-party model features are locked, and external API configuration is disabled
- Development: Third-party models like DeepSeek can be connected
The solution is straightforward: add a system environment variable to make the client run in development mode, thereby unlocking the third-party API configuration.
Environment Variables and Runtime Mode Detection
Environment variables are key-value pairs stored by the operating system to hold configuration information. Applications read these variables at startup to determine their runtime behavior. In software engineering, distinguishing between Production and Development environments is a common practice. Production environments typically enforce stricter security policies, disable debugging features, and restrict external API access, while development environments relax these restrictions for testing and integration purposes. The mechanism introduced in Claude Code 1.7 essentially reads the value of the CLAUDE_ENV environment variable to determine which mode to run in, and accordingly decides whether to grant access to third-party model API configuration.
Gateway and Third-Party Model APIs
The Gateway in Claude Code serves as an API gateway—a unified entry point for users to configure and manage different AI model interfaces. Through the Gateway, users can integrate DeepSeek, OpenAI-compatible endpoints, and other third-party LLMs into Claude Code's workflow for multi-model collaboration or alternative usage. DeepSeek is a series of large language models developed by DeepSeek AI, well-regarded by developers for its excellent performance in code generation and reasoning tasks, particularly the DeepSeek-V3 and DeepSeek-Coder series. The API gateway design pattern allows users to flexibly switch between underlying model providers without changing the frontend interaction experience.
Solution 1: Add Environment Variable via System Settings
Steps
- Open the Environment Variables window: Press
Win + Rto open the Run dialog, or type "environment variables" directly in the Windows search bar - Find System Environment Variable settings: Click "Edit the system environment variables," then click the "Environment Variables" button in the popup window
- Create a new system variable: Click "New" in the "System variables" section
- Enter the variable information:
- Variable name:
CLAUDE_ENV - Variable value:
development
- Variable name:
- Confirm and save: Click OK to complete the setup
⚠️ Note: The variable name and value are case-sensitive. Incorrect capitalization will render the setting ineffective.
After completing the setup, restart Claude Code, and you'll be able to configure third-party APIs in the Gateway again.
Solution 2: Set via PowerShell Command
If the first method doesn't work, try using the PowerShell command-line approach:
Steps
- Open PowerShell as Administrator: Search for
PowerShellin the Start menu, right-click and select "Run as administrator." If it doesn't appear directly in search results, try typingpowto find Windows PowerShell - Execute the command: Enter the following command and press Enter:
setX CLAUDE_ENV development /M
Command explanation:
setX: Used to permanently set environment variables (unlike thesetcommand which only sets them temporarily)/M: Sets it as a system-level variable, effective for all users
In-Depth Explanation of setX vs. set
In the Windows command-line environment, both set and setX can be used to set environment variables, but they differ fundamentally. The set command creates a temporary environment variable that only exists in the current command-line session and disappears when the window is closed. The setX command writes the environment variable to the Windows Registry (specifically at HKEY_LOCAL_MACHINE\SYSTEM\CurrentControlSet\Control\Session Manager\Environment), making it a permanent configuration. With the /M parameter, the variable is written to the system-level registry rather than the user-level one, meaning the setting applies to all user accounts on the computer. Note that variables set by setX don't take effect immediately in the current session—you must reopen the command-line window or restart the system to read the new value, which is why a restart is required after executing the command.
- Restart your computer: Restart the system after executing the command to apply the environment variable
Verifying the Setup
After completing the setup and restarting, open Claude Code:
- Click Help → About in the upper left corner to confirm the version number
- Navigate to the third-party API configuration page (Gateway)
- Try adding DeepSeek or another third-party model API
- If you can configure and save successfully, the environment variable has been set correctly
Summary and Recommendations
The Claude Code 1.7 update introduced environment-based restrictions on third-party APIs, essentially using an environment variable to distinguish between production and development modes. The solution is simple: add a CLAUDE_ENV=development system environment variable to run the client in development mode.
Try Solution 1 (GUI approach) first. If it doesn't work, use Solution 2 (PowerShell command). Both methods are fundamentally the same—they just differ in the operation path. Keep in mind that as Claude Code continues to update, this environment variable name or value may change, so stay tuned for the latest solutions.
Key Takeaways
- Claude Code 1.7+ added runtime environment detection that locks third-party model APIs in production mode
- The core solution is adding a system environment variable to run the client in development mode
- Solution 1 uses the Windows System Settings GUI to create the environment variable
- Solution 2 uses an admin PowerShell session to permanently set the system variable via the setX command
- A system restart is required after setup; verification is done by checking if you can reconfigure third-party APIs in the Gateway
Related articles
 Tutorials
Cursor + Codex Dual-IDE Collaboration: A Practical Methodology for Open-Source Project Customization
A complete methodology for open-source project customization based on real-world experience, detailing the Cursor+Codex dual-IDE workflow, seven-stage process, MVP validation, and AI source code reading techniques.
 Tutorials
Cursor Multi-Agent in Practice: Building a Full-Stack Next.js Blog in 50 Minutes
Build a full-stack blog in 50 minutes using Cursor IDE's multi-Agent mode with Next.js, Clerk auth, and Supabase. Learn the 4-phase AI Agent workflow and key integration pitfalls.
 Tutorials
Building an AI Software Factory from Scratch: A Cursor Engineer's Hands-On Experience with Multi-Agent Collaboration
Cursor engineer Eric shares practical insights on building an AI software factory: automation levels, guardrail design, parallel Agent management, and scaling to 1000+ Agents for 24/7 development.