Full-Stack with Zero Backend Experience: Building a Message Wall with Trae + Supabase + Vercel

Build and deploy a full-stack project with zero backend skills using Trae, Supabase, and Vercel.
This article presents a full-stack development approach for frontend developers or non-technical creators: use the Trae AI coding assistant for code generation and debugging, Supabase for cloud database services, and Vercel for one-click deployment. Through a hands-on message wall project, it walks through the entire process from requirements definition, framework setup, database connection, and UI optimization to deployment, while sharing practical tips on model selection and debugging.
Can You Build a Full-Stack Project Without Knowing Backend?
For many frontend developers or non-technical creators, "full-stack development" sounds intimidating — it requires mastering servers, databases, API endpoints, and a whole range of backend knowledge. But as AI coding tools continue to mature, by combining Trae (a domestic AI coding assistant) with Supabase cloud database and the Vercel deployment platform, you can build a complete project with full frontend-backend interaction — even without any backend experience.
This article is based on a hands-on tutorial from a Bilibili creator, breaking down the entire process of using AI-assisted development to build a message wall website, from environment setup to going live.
Tech Stack & Tool Preparation
Core Tool Checklist
The project involves the following key tools:
- Node.js: JavaScript runtime environment, the foundation for project development
- Trae (Domestic Version): AI coding assistant responsible for code generation and debugging
- Supabase: An open-source Firebase alternative that provides cloud database and API services
- Vercel: Frontend deployment platform for publishing your project as an accessible website with one click
- GitHub: Code version management, also used as login credentials for Supabase and Vercel
Free Tier Details
Both Supabase and Vercel offer free tiers that are more than sufficient for personal projects. Supabase's free tier includes database storage and API call quotas, while Vercel supports deploying multiple websites. Both allow you to log in directly with your GitHub account, making the registration process very straightforward.
CLI Tool Configuration
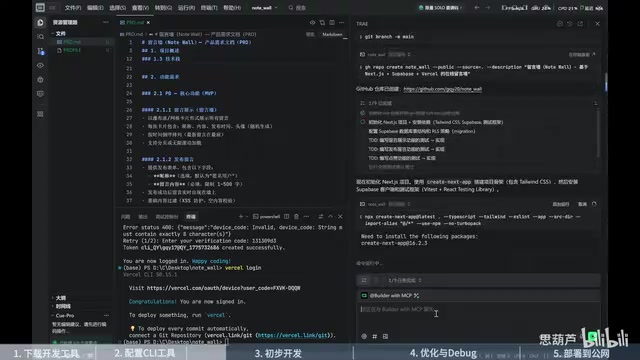
Besides registering accounts on the web, you also need to install the Supabase CLI and Vercel CLI locally. This step can be done with AI assistance — simply ask Trae how to download and configure these two CLI tools, and the AI will provide the corresponding installation commands. After installation, complete local authentication using the supabase login and vercel login commands.
Full Development Workflow
Step 1: Defining Requirements & Generating Documentation
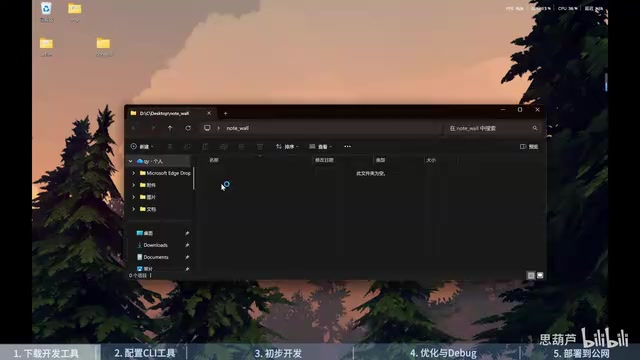
After creating a project folder in Trae, start by interacting with the AI to clarify your requirements: build a message wall website that connects to a Supabase database to store messages, and ultimately host it on Vercel for external access.
The AI will generate a comprehensive project document based on your requirements, including the technical architecture, feature module breakdown, database table structure design, and more. Once you've confirmed the document is accurate, you can move into the development phase.
Step 2: Framework Setup & Database Connection
Development follows a Test-Driven Development (TDD) approach, with the AI completing the following tasks sequentially:
- Initialize project management with Git
- Create the project framework and basic file structure
- Configure the Supabase connection and create corresponding SQL files
- Install project dependencies (this step can be time-consuming)
Database connection is the critical step. Use the Supabase CLI to create a new project in the cloud and connect locally via the CLI. The AI will guide you through the entire configuration process, including creating data tables and setting environment variables.
Step 3: UI Optimization & Iterative Debugging
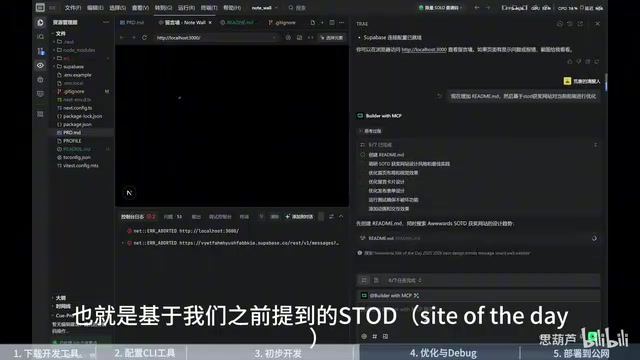
Once the basic functionality is working, move into the UI optimization phase. In the tutorial, the creator referenced design styles from award-winning websites, having the AI study relevant materials before optimizing the interface.
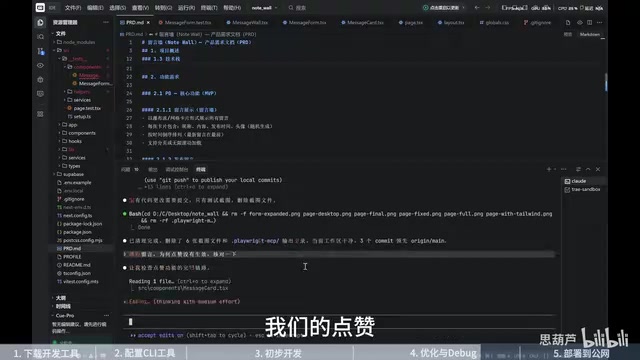
At this stage, encountering various errors is inevitable. The approach is straightforward: paste the error messages to the AI, let it analyze the cause, and provide a solution. In practice, many issues require multiple rounds of debugging to resolve — this is completely normal.
Practical Experience with Model Selection
The tutorial creator switched models during development — from Gemini 5.1 to Claude Code. The reason was that Claude Code performed more professionally in problem analysis and comprehension, especially when handling complex debugging scenarios. Additionally, browser tools (such as Playwright MCP) were used for screenshot analysis, allowing the AI to "see" the actual rendered page to pinpoint issues.
Deployment & Continuous Integration
One-Click Deployment with Vercel
Once development is complete, use the Vercel CLI to push the project to your personal repository. Vercel will automatically generate an externally accessible link for the project. In the Vercel dashboard, you can check deployment status and configure environment variables such as database keys.
Automatic Deployment via GitHub Integration
The final step is linking the Vercel project with your GitHub repository. Once connected, every code push to GitHub will automatically trigger a redeployment on Vercel. This creates a complete CI/CD pipeline:
Local Development → Git Commit → GitHub Repository → Vercel Auto-Deploy → Website Updated
Takeaways & Development Tips
Core Advantages of This Approach
- Zero backend knowledge required: All database operations and API endpoints are managed by Supabase
- Zero ops overhead: Vercel's Serverless architecture eliminates the need to manage servers
- AI dramatically reduces coding difficulty: From framework setup to bug fixes, AI handles the bulk of the coding work
Key Things to Keep in Mind
- Be patient: Environment setup and dependency installation take time — don't rush
- Multiple debugging rounds are normal: AI isn't omnipotent; complex issues may require back-and-forth communication to resolve
- Model selection matters: Different AI models excel in different scenarios; when you hit a bottleneck, try switching models
- Understand the fundamentals: Even though AI can write code, understanding basic concepts of databases and deployment helps you collaborate with AI more effectively
Although this project is a simple message wall, it covers the core pipeline of full-stack development: frontend interface, backend API, database storage, and cloud deployment. Once you've mastered this Trae + Supabase + Vercel workflow, you can easily apply it to develop more complex personal projects.
Related articles
 Tutorials
Cursor + Codex Dual-IDE Collaboration: A Practical Methodology for Open-Source Project Customization
A complete methodology for open-source project customization based on real-world experience, detailing the Cursor+Codex dual-IDE workflow, seven-stage process, MVP validation, and AI source code reading techniques.
 Tutorials
Cursor Multi-Agent in Practice: Building a Full-Stack Next.js Blog in 50 Minutes
Build a full-stack blog in 50 minutes using Cursor IDE's multi-Agent mode with Next.js, Clerk auth, and Supabase. Learn the 4-phase AI Agent workflow and key integration pitfalls.
 Tutorials
Building an AI Software Factory from Scratch: A Cursor Engineer's Hands-On Experience with Multi-Agent Collaboration
Cursor engineer Eric shares practical insights on building an AI software factory: automation levels, guardrail design, parallel Agent management, and scaling to 1000+ Agents for 24/7 development.