Getting Started with Cocos Creator 3D Particle Effects: Create Stars, Explosions, and Smoke with Zero Code
A beginner's guide to creating 3D particle effects in Cocos Creator using only the visual editor.
This article introduces how to create game particle effects using Cocos Creator's 3D particle system with zero code. Through the visual editor, developers can achieve common effects like twinkling stars, explosion smoke, converging particle explosions, and sprite sheet animations without any programming. The article explains the implementation principles and core parameters for each effect type and provides a learning path from simple to complex.
Introduction
In game development, particle effects are a key element for enhancing visual expressiveness. Whether it's twinkling stars, explosive flames, or billowing smoke, polished particle effects can make game visuals come alive. Many developers mistakenly believe that creating 3D particle effects requires writing extensive code, but in reality, with Cocos Creator's visual particle editor, even beginners with zero programming experience can get started quickly.
The Particle System is a classic procedural animation technique in computer graphics, first developed by William Reeves in 1983 for the "Genesis Effect" in the film Star Trek II: The Wrath of Khan. The core idea is to use a large number of simple geometric elements (typically billboards or points) to simulate complex natural phenomena. Each particle has properties such as position, velocity, lifetime, and color, and mathematical formulas control how these properties change over time, giving rise to macroscopic effects like fire, smoke, and water splashes. Modern game engine particle systems typically run on the GPU, capable of rendering tens or even hundreds of thousands of particles simultaneously, with performance overhead far lower than frame-by-frame hand-drawn animation.
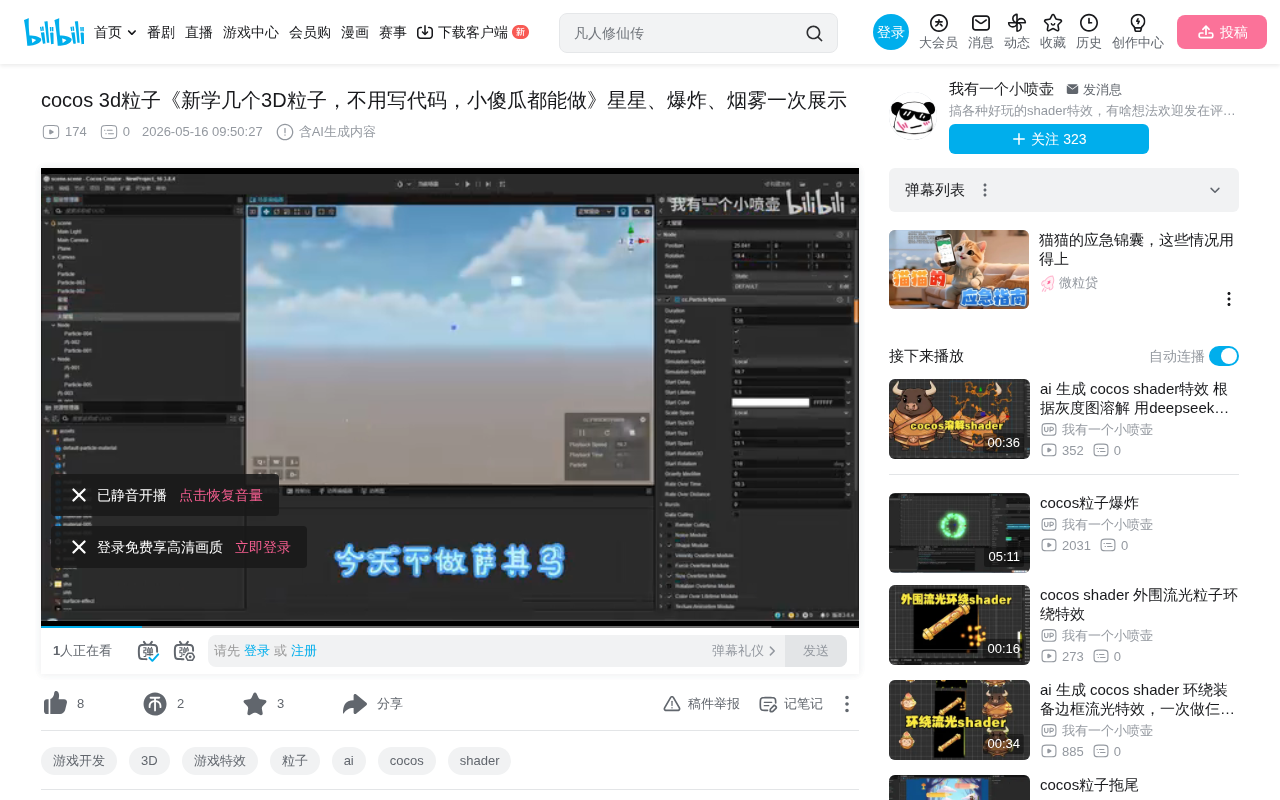
Recently, a Bilibili content creator shared a showcase of Cocos Creator 3D particle effects they created while learning, covering twinkling stars, explosion smoke, converging particle explosions, sprite sheet animations, and more — all without writing a single line of code, making it an excellent reference for beginners.

About the Cocos Creator Engine
Cocos Creator is an open-source cross-platform game engine developed by Xiamen Yaji Software, representing the latest generation of the Cocos engine family. It features a component-based architecture and visual editor design, supporting both 2D and 3D game development with one-click publishing to Web, iOS, Android, WeChat Mini Games, and other platforms. Cocos Creator 3.x unified the 2D and 3D workflows, introducing modern graphics features such as Physically Based Rendering (PBR), real-time shadows, and post-processing pipelines. Its particle system received a major upgrade in version 3.x, supporting GPU particle acceleration, curve editors, sub-emitters, and other advanced features. It holds a significant market share in China's mini-game and lightweight mobile game sectors.
Types of Particle Effects Demonstrated
Twinkling Star Effect
Twinkling stars are one of the most basic and commonly used particle effects. In Cocos Creator, natural twinkling effects can be achieved by adjusting particle lifetime, size-over-time curves, and opacity gradients. These effects are commonly used for UI decoration, skill activation indicators, item collection feedback, and similar scenarios.
Core parameters typically include:
- Particle emission rate and lifetime
- Size-over-time curves
- Color and opacity gradient settings
- Random rotation and position offset
Explosion and Smoke Combination Effect
Explosion effects are among the most frequently used in games and typically consist of multiple layered particle systems. The creator demonstrated two explosion effects of different complexity:
Beginner Explosion Smoke: Uses a single particle system, simulating explosion dispersal by adjusting emission angles and velocity decay, combined with gray smoke textures for a basic explosion visual.
Advanced Explosion + Stars: Combines explosion smoke with star particles — first producing a shockwave-like smoke dispersal, then overlaying scattered star fragments for richer visual depth.
Converging Particle Explosion Effect
This is a two-phase compound effect: in the first phase, particles converge from all directions toward the center, creating a visual suggestion of energy accumulation; in the second phase, an explosion dispersal is triggered after convergence is complete. This "gather then release" rhythm is commonly used in games for ultimate ability charging, boss skill wind-ups, and similar scenarios.
The key to achieving this effect lies in controlling particle velocity direction — the convergence phase uses negative radial velocity to move particles toward the center, while the explosion phase switches to positive outward dispersal. Radial Velocity is a critical parameter in particle systems that controls particle movement along the direction of the emission source center. Positive values cause particles to move away from the center (dispersal), while negative values cause particles to converge toward the center. This concept originates from the radial motion component in physics and is abstracted as an adjustable parameter in particle systems. Beyond radial velocity, modern particle systems typically also support Tangential Velocity (controlling particle rotation around the center) and Orbital Velocity. The combination of all three can simulate complex motion trajectories such as vortices and spiraling ascents. Cocos Creator's Velocity over Lifetime module supports precise control of these velocity components over the particle's lifetime through a curve editor.
Sprite Sheet Animation Particles
Sprite Sheet Animation is an advanced technique in particle effects. Unlike ordinary single-texture particles, sprite sheet particles use an atlas containing multiple frames, playing through each frame sequentially during the particle's lifetime to achieve more complex animation effects such as burning flames and rolling smoke.
From a technical perspective, sprite sheet animation works similarly to traditional frame-by-frame animation playback. Developers arrange all keyframes of a complete animation in a grid layout on a single texture atlas (commonly called a Sprite Sheet or Texture Atlas), and at runtime, UV coordinate offsets are used to display different frames sequentially, creating the animation effect. The advantages of this technique include: a single texture sample completes the rendering, avoiding the Draw Call overhead of frequent texture switching; and pre-made high-quality hand-drawn or offline-rendered frames can be used, achieving finer visual results than real-time computation. When used in particle systems, each particle independently plays the animation sequence, and combined with particle movement and scaling, effects like cartoon flames and rotating magic runes that are difficult to achieve through procedural methods become possible.
In Cocos Creator, you simply need to configure the Texture Sheet Animation module in the particle material, specifying the row and column count and playback speed.
Core Advantages of Zero-Code Implementation
All these effects are created entirely through Cocos Creator's visual particle editor without writing any script code. This is made possible by the rich built-in modules provided by Cocos Creator's particle system:
- Shape Module: Controls particle emission shape (sphere, cone, box, etc.)
- Velocity Module: Controls particle movement speed and direction
- Color/Size over Lifetime: Controls particle color and size changes over time
- Renderer Module: Controls particle rendering method and materials
Visual particle editors represent an important trend in the democratization of game development tools. Early particle effects required Technical Artists to manually write shader code and scripting logic, creating an extremely high barrier to entry. With the maturation of tools like Unity's Shuriken/VFX Graph, Unreal Engine's Niagara, and Cocos Creator's built-in particle editor, effects creation has gradually shifted from "code-driven" to "data-driven." Designers can complete most of the work through dragging nodes, adjusting curves, and real-time preview, with programmers only needing to intervene when complex interaction logic is required. This division of labor not only improves iteration efficiency but also enables independent developers and small teams to produce visual effects approaching AAA quality.
For beginners, this WYSIWYG editing approach significantly lowers the learning curve, allowing rapid parameter iteration through real-time preview.
Learning Recommendations
If you want to get started with Cocos Creator 3D particle effects, here are some suggestions:
- Start with simple effects: First master the meaning of each parameter in a single particle system before attempting multi-system layering
- Leverage reference tutorials: Follow established tutorials step by step to understand the role of each parameter
- Prepare quality texture assets: The visual quality of particle effects largely depends on texture quality. It's recommended to use PNG format textures with Alpha channels — soft-edged circular or irregular shapes work best. You can obtain them from free asset websites or create your own using Photoshop or Substance Designer
- Observe real-world effects: Watch slow-motion explosion and smoke videos to understand physical motion principles. Pay attention to how real-world particles accelerate, decelerate, and are affected by gravity and air resistance — these observations will directly guide your adjustments to damping, gravity, and velocity curve parameters in the editor
- Combine and layer: A single particle system has limited impact; layering multiple systems creates rich visual depth. Professional effects typically consist of 3-8 particle systems combined, each responsible for different layers such as core glow, dispersing fragments, smoke trails, and ground shockwaves
Conclusion
Cocos Creator's 3D particle system provides developers with a powerful yet user-friendly effects creation tool. As the content creator put it, "No code needed, anyone can do it" — this isn't false modesty, but genuine feedback on the tool's accessibility. For independent developers and small teams, mastering visual particle editing can significantly enhance a game's visual quality without adding programming burden.
It's worth noting that while the zero-code approach covers most common effects needs, when deep interaction between particles and game logic is required (such as particles following targets, collision triggers, or dynamic parameter adjustments), some scripting code is still necessary. Learners are advised to gradually familiarize themselves with the particle system's API after mastering visual editing to handle more complex project requirements.
Key Takeaways
- Cocos Creator's 3D particle system supports zero-code visual editing, lowering the barrier to effects creation
- Four common particle effects were demonstrated: twinkling stars, explosion smoke, converging particle explosions, and sprite sheet animations
- Compound effects are achieved by layering multiple particle systems, such as the two-phase convergence-then-explosion effect
- Sprite sheet animation particles achieve more complex animation through multi-frame atlas playback
- Beginners are advised to start by understanding single-system parameters before gradually progressing to multi-system combinations
Related articles
 Tutorials
Cursor + Codex Dual-IDE Collaboration: A Practical Methodology for Open-Source Project Customization
A complete methodology for open-source project customization based on real-world experience, detailing the Cursor+Codex dual-IDE workflow, seven-stage process, MVP validation, and AI source code reading techniques.
 Tutorials
Cursor Multi-Agent in Practice: Building a Full-Stack Next.js Blog in 50 Minutes
Build a full-stack blog in 50 minutes using Cursor IDE's multi-Agent mode with Next.js, Clerk auth, and Supabase. Learn the 4-phase AI Agent workflow and key integration pitfalls.
 Tutorials
Building an AI Software Factory from Scratch: A Cursor Engineer's Hands-On Experience with Multi-Agent Collaboration
Cursor engineer Eric shares practical insights on building an AI software factory: automation levels, guardrail design, parallel Agent management, and scaling to 1000+ Agents for 24/7 development.