Stable Diffusion Local Deployment Guide: Build Your AI Art Environment at Zero Cost
Stable Diffusion Local Deployment Guid…
A step-by-step guide to running Stable Diffusion locally for free AI image generation.
This guide walks you through deploying Stable Diffusion on your local machine, from hardware requirements (NVIDIA GPU with 4GB+ VRAM) to installation, model placement, and launching the application. Learn how to avoid common pitfalls like non-English file paths, choose the right community models for your style, and take your first steps toward prompt engineering mastery — all without paying for any subscription service.
Why You Should Pay Attention to Stable Diffusion
While major AI platforms are rolling out subscription services at $30/month, a completely free, open-source AI art tool has been quietly gaining popularity among professional creators. It's Stable Diffusion — an AI image generation tool that runs entirely on your local machine.
No internet connection required, no queues, no content moderation restrictions, and you don't even need the latest high-end GPU. This isn't an exaggeration — it's the real capability that the open-source community has given to every ordinary user.
Core Advantages of Stable Diffusion
Many people are naturally skeptical of anything "free," assuming free tools must be inferior to paid products. But the reality is quite the opposite — many paid AI art platforms on the market today have their underlying technical architecture built on contributions from the open-source community.
As the benchmark project in open-source AI art, Stable Diffusion offers the following core advantages:
- Fully Open Source: Transparent code with continuous community iteration and optimization
- Local Execution: Data never leaves your machine, ensuring privacy and security
- No Usage Limits: No quota restrictions, no content moderation walls
- Rich Ecosystem: Thousands of community models and plugins to choose from
In other words, those monthly subscription platforms are essentially adding a layer of packaging and hosting services on top of open-source technology. Once you learn to deploy locally, you can save that expense entirely.
Local Deployment Hardware Requirements: Lower Barrier Than You Think
A common misconception is that running AI art requires a top-tier GPU. In reality, Stable Diffusion's hardware requirements are quite forgiving:
- GPU: NVIDIA graphics card (CUDA-supported), minimum 4GB VRAM, 8GB or more recommended for better experience
- RAM: 16GB or more recommended
- Storage: At least 20GB of free space for model files
Even a mid-range GPU from three to five years ago can handle basic image generation tasks. Generating a high-quality image typically takes anywhere from a few dozen seconds to a few minutes.
Detailed Steps for Local Deployment of Stable Diffusion
Step 1: Download the Installation Package and Verify Integrity
Before deployment, the most critical step is to confirm the installation package downloaded completely. Incomplete files are the primary cause of installation failures. After downloading, right-click the installer and select install, then wait for the progress bar to complete.
Step 2: Extract and Place Model Files
After installing the main program, you need to place the pre-trained models in the correct directory:
- Extract the downloaded model archive — you'll get a model folder and a readme file
- Open the readme file to confirm the storage paths for different model types
- Copy the model files to the
Models/ControlNetfolder within the main program's installation directory
Step 3: Follow File Path Conventions
This is a common pitfall for beginners — keep this in mind:
All file paths must be in English only, with no spaces, special characters, or non-ASCII characters.
Non-English characters or special symbols in paths can easily cause various hard-to-debug errors. It's best to plan a clean English directory structure from the start, such as D:/SD/stable-diffusion.
Step 4: One-Click Deployment Using the Launcher
Return to the installation directory, find the launcher icon, and double-click to run it. Modern Stable Diffusion integration packages typically include a launcher that's very beginner-friendly:
- No manual environment configuration needed: Python environment, CUDA drivers, etc. are handled automatically
- Automatic hardware detection: Runtime parameters are adjusted based on your GPU performance
- Built-in model management: Supports updating, deleting, and switching models
After launching, watch the console output. When a browser window pops up automatically, deployment is successful.
Model Selection and Usage Tips
On first launch, the system will load a base model. But Stable Diffusion's true power lies in its rich community model ecosystem. Different models excel at different styles:
- Realistic models: Ideal for generating lifelike portraits and landscape photos
- Anime models: Focused on anime-style characters and scenes
- Artistic models: Simulate traditional art styles like oil painting and watercolor
Each model typically comes with preview images, making it easy to choose based on your needs. As you gain experience, you can try advanced techniques like model mixing and weight adjustment.
Next Steps After Deployment
Local deployment of Stable Diffusion isn't complicated — the entire process is beginner-friendly enough. The real learning curve lies in subsequent prompt engineering and parameter tuning — how to use precise text descriptions to guide AI toward generating the image in your mind. That's the key to going from beginner to expert.
In an era where AI tools are becoming increasingly mainstream, mastering a free and powerful local solution not only saves ongoing subscription costs but also means complete control over your creative workflow. When you no longer depend on any platform's servers or usage quotas, that's when true creative freedom begins.
Related articles
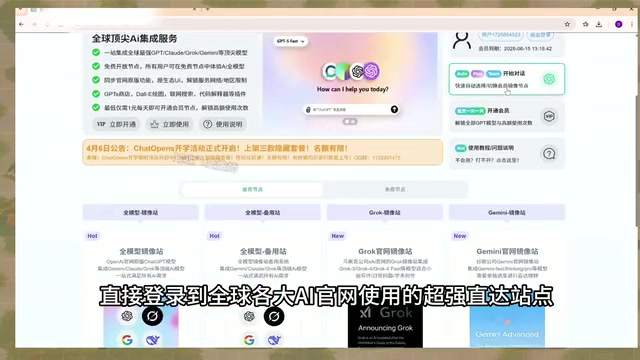
AI Aggregator Platforms Tested: A Complete Guide to Using GPT 5.5 and Other Top Models for Free
A hands-on guide to using GPT 5.5, Gemini 3.1 Pro, and Grok 4.2 for free via AI aggregator platforms, covering cross-model context memory, account pool mechanisms, and key security risks.
Vibe Coding in Practice: A Junior Student Uses Cursor to Build a Multi-Agent System with 51 AI Officials Based on the Three Departments and Six Ministries Framework
A junior student uses Cursor and Vibe Coding to build a multi-agent system with 51 AI officials modeled on China's Three Departments and Six Ministries, featuring task distribution, approval workflows, and Token cost visualization.
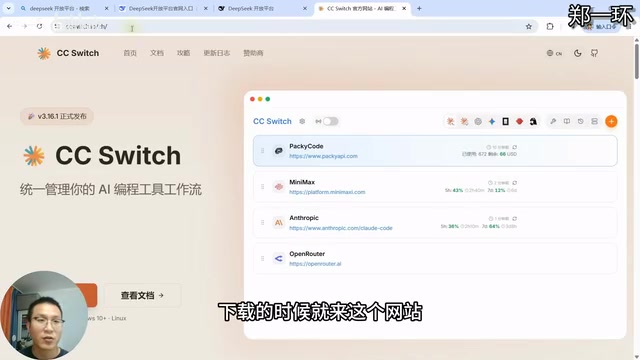
How to Connect Codex to DeepSeek Models: Free Switching via CC Switch
Learn how to connect OpenAI Codex to DeepSeek models via CC Switch, enabling free switching between DeepSeek and GPT with complete setup and routing guide.