Trae IDE Custom Model Integration Tutorial: Complete Guide to Configuring Third-Party APIs

A complete guide to configuring third-party API models in Trae IDE for unlimited AI-assisted development.
This tutorial walks through integrating custom AI models into Trae IDE using third-party APIs like OpenRouter and DeepSeek. It covers accessing model settings, obtaining API URLs (with the critical /v1 suffix), creating API keys, and completing configuration. The guide also explains how to disable Auto mode to use custom models and offers practical tips on cost control and model selection strategies.
Why You Need Custom Models in Trae
As an AI-powered development tool, Trae offers free model credits that are sufficient for light daily use. However, for developers who frequently rely on AI-assisted programming, the built-in models have two obvious limitations:
- Limited model selection: The built-in model options are few and can't meet the needs of different scenarios
- Credits run out quickly: When frequently writing code and analyzing projects, free credits get exhausted fast
If you've already purchased API access from third-party platforms (such as OpenRouter, DeepSeek, etc.), integrating them into Trae gives you the best of both worlds — you can continue using a familiar development environment while freely choosing the models you want.
Step-by-Step Guide to Configuring Custom Models in Trae
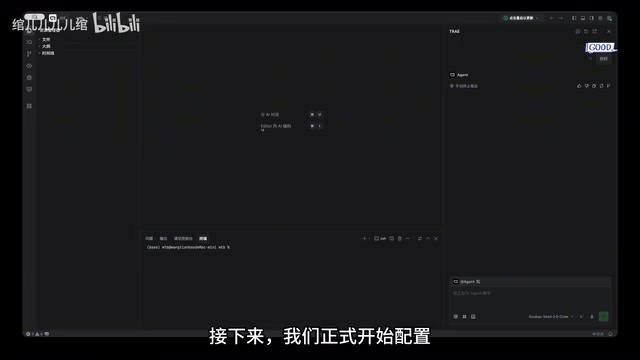
Step 1: Access Trae's Model Settings
In Trae, click the settings button in the upper right corner, navigate to "Preferences" → "Model Settings", then select "Add Custom Model".
For services using OpenAI-compatible interfaces (such as OpenRouter, DeepSeek, or other third-party aggregation platforms), you typically only need to fill in three pieces of information:
- Custom request URL
- Model ID
- API key
What is an OpenAI-compatible interface? An OpenAI-compatible interface refers to a third-party service endpoint that follows the OpenAI API specification (particularly the Chat Completions API). Since OpenAI's API format has become the de facto industry standard, numerous third-party model providers have chosen to implement the same request format and response structure. This means any client tool that supports the OpenAI API format can seamlessly connect to different model services simply by swapping the request URL and API key, greatly reducing the cost of switching between different models for developers.
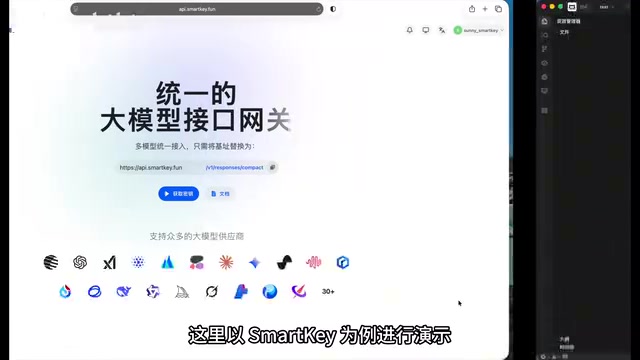
Step 2: Obtain the API Request URL and Model ID
Using a third-party API aggregation platform as an example, first copy the custom request URL provided on the platform's homepage. Here's a critical detail: you need to append /v1 to the end of the URL, otherwise the interface may not work properly.
/v1 is the version path identifier for the OpenAI API, representing the first major version of the API. The complete API endpoint typically follows a structure like base_url/v1/chat/completions. Some platforms don't include the /v1 suffix when providing their base URL, and Trae may not automatically append this segment when constructing the full request path, so users need to add it manually. If this path segment is missing, requests will be sent to the wrong endpoint, resulting in 404 or other error responses.
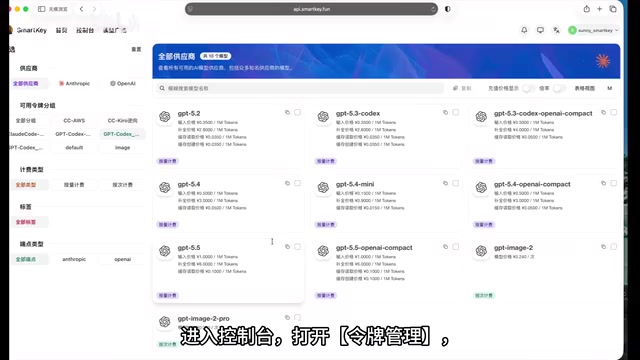
Next, go to the model marketplace, find the model group you need, and select the specific model (such as GPT-4.5 or other high-performance models). Note down the corresponding model ID, as you'll need it during configuration.
About API aggregation platforms: API aggregation platforms (such as OpenRouter, OneAPI, etc.) serve as a middleware layer for model services. They integrate with multiple model providers (OpenAI, Anthropic, Google, Meta open-source models, etc.) and offer services to users through a unified API interface. Users only need one account and one API key to access dozens or even hundreds of different AI models. Aggregation platforms typically also provide load balancing, failover, usage statistics, and other additional features. Some platforms also leverage bulk purchasing to obtain price advantages and pass the savings on to users.
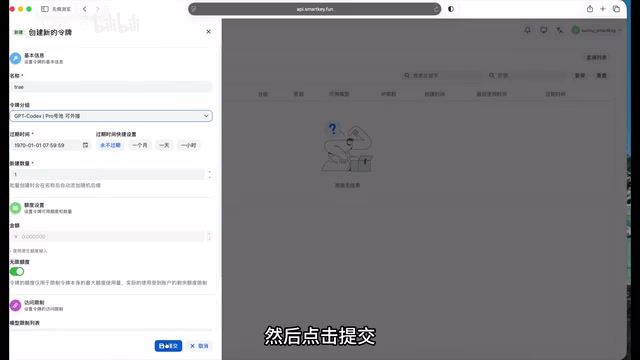
Step 3: Create an API Key
Go to the platform's console, open "Token Management", and click "Add Token":
- Enter a custom name (for easy identification later)
- Select the token group matching the model group from earlier
- Click submit
Once created, the system will generate an API key. Make sure to copy and save it immediately, as some platforms only display it once.
An API key is essentially an authentication credential, similar to a password. If leaked, others can use your account credits to call model services and incur charges. Security best practices include: creating separate keys for different purposes (easier to track and revoke), setting usage limits on keys, rotating keys regularly, and never hardcoding keys in code repositories. Most platforms only display the full key once after creation for security reasons, showing only partial characters afterward — this is a protective measure to prevent the full key from being exposed if the admin interface is viewed by unauthorized parties.
Step 4: Complete the Model Configuration in Trae
Return to Trae's model settings interface, paste the copied API key into the corresponding input field, confirm the request URL and model ID are correct, then click save.
At this point, the third-party model integration is complete.
Using Custom Models in Trae
After configuration, return to Trae's chat interface and turn off the Auto model mode first. In the model list, you'll now see the custom model you just added. After selecting the corresponding model, you can use it for conversations, code generation, and project development just like Trae's built-in models.
Trae's Auto model mode is an intelligent routing feature where the system automatically selects the most suitable built-in model to handle requests based on factors like task complexity and context length. This design is user-friendly for general users, but needs to be disabled when using custom models, because Auto mode only selects from the built-in model pool and won't route requests to user-configured third-party models. Once disabled, users can manually select specific models from the model list, gaining full control.
Practical Tips and Considerations
- Multiple model configurations: You can repeat the above steps to add multiple models and switch between them flexibly based on different task scenarios
- URL format note: API URL formats vary slightly across platforms, but most OpenAI-compatible interfaces require the URL to end with
/v1 - Cost control: Using third-party APIs incurs charges, so it's recommended to set usage limits on the platform to avoid unexpected overspending. Most aggregation platforms support daily or monthly spending caps, and some support independent quotas per key, which is especially important for team collaboration scenarios
- Model selection strategy: Use lightweight models for simple Q&A to save costs, and reserve high-performance models for complex code generation and project analysis. For example, daily code completion can use cost-effective models like DeepSeek-V3, while architecture design and complex debugging tasks can switch to top-tier models like Claude 3.5 Sonnet or GPT-4o
- Connection testing: After configuration, it's recommended to send a simple test message to verify connectivity and confirm the model responds normally before using it in production workflows, avoiding the discovery of configuration errors during critical work
By integrating custom models, Trae transforms from a credit-limited AI IDE into an open AI development platform, allowing developers to flexibly combine the most suitable model solutions based on their needs and budget.
Key Takeaways
Related articles

A Gen-Z Woman Making $1.5M/Month: Deconstructing the Growth Methodology Behind AI Apps
Gen-Z indie dev Nicole built 4 hit AI apps earning $1.5M/mo. Deep dive into her industrialized UGC engine, traffic testing system, and minimalist tech stack.
Replit's AI Loops Workflow Explained: Multi-Agent Collaboration Replaces Prompt Engineering
Deep dive into Replit's AI Loops workflow: how orchestrators, parallel agents, and Computer Use Verifiers build automated closed-loop systems through multi-agent collaboration.
Claude Code + Skills: A Practical Guide to AI-Powered Test Case Generation
Learn how to use Claude Code + Skills to auto-generate enterprise-grade test cases. Covers AI Agent vs LLM differences, the four core capabilities, and the complete workflow from requirements to test cases.