DeepSeek Harness Step-by-Step Tutorial: Master DSH and Its Plugin Ecosystem in 50 Minutes

DeepSeek Harness install tutorial: Node.js setup, three plugin install methods, and extended use cases.
This article distills a Bilibili creator's tutorial on installing and using the DeepSeek Harness client. Harness's core advantage over the web version is reading and writing local folders, and plugins greatly expand its capabilities. Install Node.js first (version 22+, path on the D drive), then the Harness client (also avoid the C drive). Plugins can be installed three ways: letting the model install them via chat (consumes tokens), the plugin marketplace (no credits), or the command line. The plugin ecosystem is Harness's key value, enabling Bilibili content reading, knowledge base management, video generation, and chat software integration. The creator recommends beginners start with the plugin marketplace and keep Node.js updated.
After DeepSeek released the Harness client, this model — originally known for its cost-effectiveness — finally has an official desktop entry point. This nearly 50-minute tutorial from a Bilibili creator demonstrates the complete path from zero installation to plugin extensions, and showcases extended use cases such as letting Harness read Bilibili content, manage a knowledge base, generate videos, and even connect to chat software. This article distills the key operational steps and the creator's hands-on insights from the video into a reproducible written guide.
Why the Harness Client Is Worth Installing
The web version of DeepSeekAd's chat window and the Harness client look similar, but the core difference lies in local file system permissions. Harness can add local folders, read and modify their contents, or save files back to specified directories — something a purely online conversation cannot do. After testing, the creator believes that with good plugins, Harness's capability boundaries are greatly expanded.
According to the creator, Harness's plugin architecture follows the same approach as Codex, and its real strength lies in plugin integration.
Before Installation: Node.js Environment
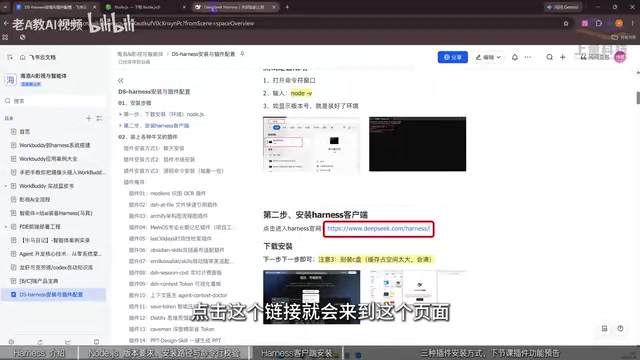
Installation has two steps. The first is installing Node.js, because many AI tools run on the Node.js environment — tools like Claude Codex also require it to be set up beforehand. The creator emphasizes choosing version 22 or above; do not use versions below 22. When downloading, you can choose ZIP or MSI; MSI can be installed with a direct click, while ZIP requires extraction first.
It is recommended to change the installation path to the D drive. There are two reasons: first, C drive space will be consumed; second, running it generates a large number of cache files that can easily fill up the system drive. After installation, open the command line and enter node -v (with a space between node and -v). If the version number displays and is above 20, the environment is set up correctly.
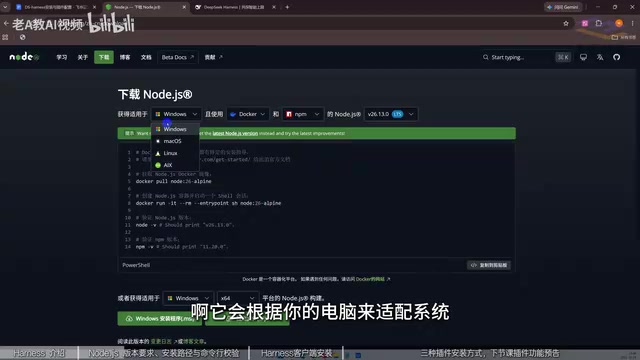
Node.js is a JavaScript runtime environment based on the Chrome V8 engine that lets JavaScript run locally on a computer outside the browser. Many AI tools and command-line clients (such as Claude Codex and Harness) rely on the Node.js environment to execute scripts, manage dependency packages, and call system resources. "Version 22 or above" refers to Node.js's major version number; newer versions typically include performance improvements, security updates, and support for new features, so the creator recommends using a newer version to avoid compatibility issues. When installing, choosing the MSI format lets you complete installation directly through the setup wizard, while the ZIP format requires manual extraction and environment variable configuration — for beginners, MSI is more convenient.
Installing the Harness Client
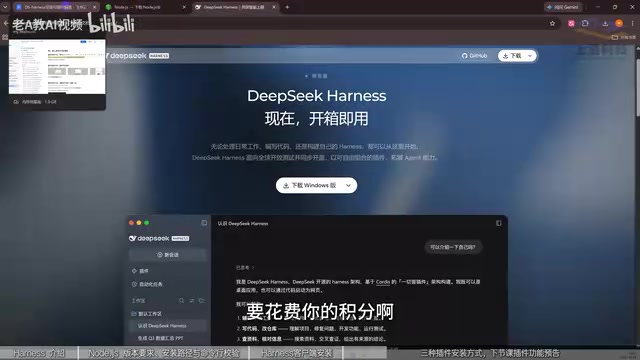
After entering the Harness download page, the page provides the corresponding installer for your current system; for a Windows computer, choose the Windows version. After downloading, right-click to open it. Again, do not put the installation location on the C drive — change it to the D drive and click Install Now; the interface opens automatically when finished.
The creator mentions that the interface shows several DeepSeek models to choose from, and other features will be covered in later lessons; this section focuses on plugins.
Three Ways to Install Plugins
Method 1: Let Harness Install Them Itself
If you know the plugin name and GitHub link, simply send the link to the chat window and let it install the plugin itself. This is the most direct method, but it consumes tokens and credits.
Method 2: Install via the Plugin Marketplace (No Credits Needed)
In the interface, click Add Plugin, enter the plugin name (for example, DSH Market), click Install, and once installation is detected, click Launch Now. Then open Settings under the "More" menu, and you will see the newly installed plugin marketplace, where you can search and filter thousands of plugins. The creator gives examples like a goldfish widget or desktop pet — plugins like these install with a single click.
Method 3: Command-Line Installation
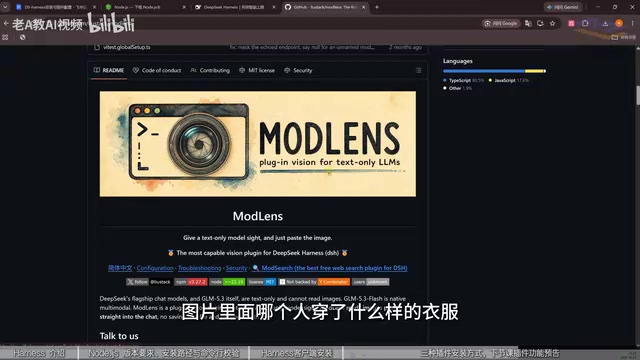
Some plugins provide a one-click copy install command on their GitHub page; paste it into the command line to execute. The creator uses a plugin described as "the strongest DeepSeek Harness vision plugin on the internet" as an example: native DeepSeek cannot read local images, but with this plugin installed, it can identify how many people are in an image and what clothes each is wearing.
The creator also admits that the command-line method is somewhat abstract for some users and not as handy as the first two. If you don't know what plugins are available, you can simply ask DeepSeek for a list of popular, useful plugins and pick what you need from there.
The plugin marketplace (such as DSH Market mentioned in the article) is a platform that centrally hosts and distributes plugins, similar to a mobile app store. It allows users to browse, search, filter, and install plugins, and is usually maintained by the community or official team, with plugin counts reaching thousands or tens of thousands. Installing plugins through the marketplace generally does not consume model tokens or credits, because the installation process does not involve conversational interaction with the AI model. Plugins in the marketplace cover many types, including feature extensions, interface beautification, and tool integration, and users can filter for what they need based on ratings, download counts, and other metrics.
What Extended Use Cases Plugins Enable
At the beginning of the video, the creator lists several demonstration directions: letting Harness read content on Bilibili and read it aloud or send it into a knowledge base for management; generating videos; organizing knowledge directories; and even connecting to chat software to converse with others. What these scenarios have in common is that they all require plugins to fill in native capabilities, which also explains why the creator sees the plugin ecosystem as Harness's core value.
A vision plugin is an extension plugin that supplements an AI model's image recognition capabilities. The native DeepSeek model cannot directly read local image files, but after installing a vision plugin, the model can call the image-processing interface provided by the plugin to recognize objects, people, scenes, and other elements in images. For example, the plugin mentioned in the article can determine how many people are in an image and what each is wearing. Such plugins are usually implemented based on computer vision models, completing image analysis through local or cloud APIs, thereby compensating for the shortcomings of pure text models in multimodal capabilities.
Practical Advice
For beginners, prioritize the credit-free plugin marketplace path, which quickly builds an understanding of what plugins look like; when you have a clear need and know the plugin source, then consider chat-based or command-line installation. Keeping the installation path uniformly on the D drive and the Node.js version at 22 or above are two basic settings that avoid future trouble. The creator says the next lesson will continue with how to install commonly used plugins and their practical role in business scenarios.
One-line Summary
DeepSeek Harness client installation tutorial: Node.js setup, three plugin installation methods, and extended use cases.
Paragraph Summary
This article distills a Bilibili creator's tutorial on installing and using the DeepSeek Harness client. Harness's core advantage over the web version is its ability to read and write local folders, and with plugins it can greatly expand its capabilities. Before installation, install Node.js (version 22 or above, path changed to the D drive), then install the Harness client (also avoid the C drive). There are three ways to install plugins: let the model install them via chat (consumes tokens), install via the plugin marketplace (no credits), and command-line installation. The plugin ecosystem is the key value of Harness, enabling use cases such as reading Bilibili content, knowledge base management, video generation, and connecting to chat software. The creator recommends beginners prioritize the plugin marketplace and keep the Node.js version up to date.
Related articles
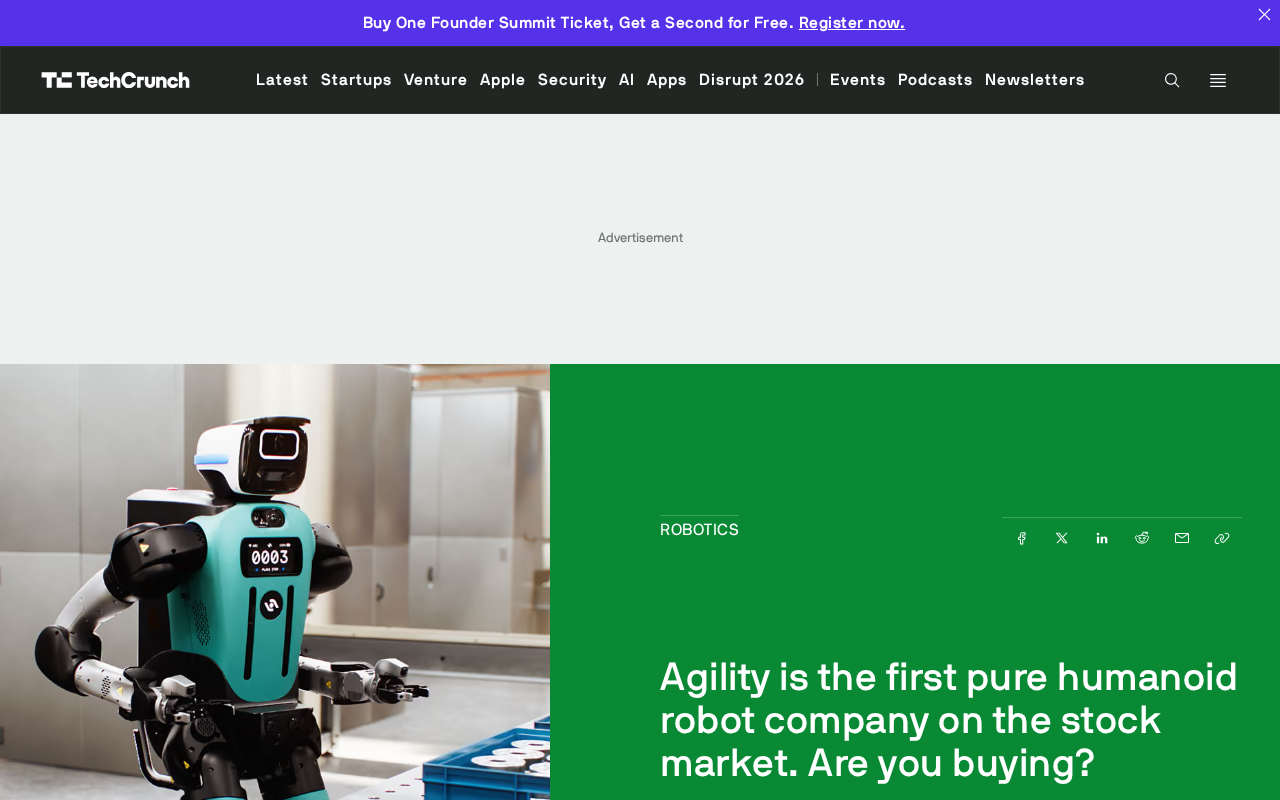
World's First Humanoid Robot Company Agility Lists on Nasdaq: Buy or Not?
Agility becomes the world's first pure-play humanoid robot company to list on Nasdaq. This article analyzes what the landmark event means for the industry and investors, unpacking the commercialization test and investment framework for the pure humanoid robot sector.
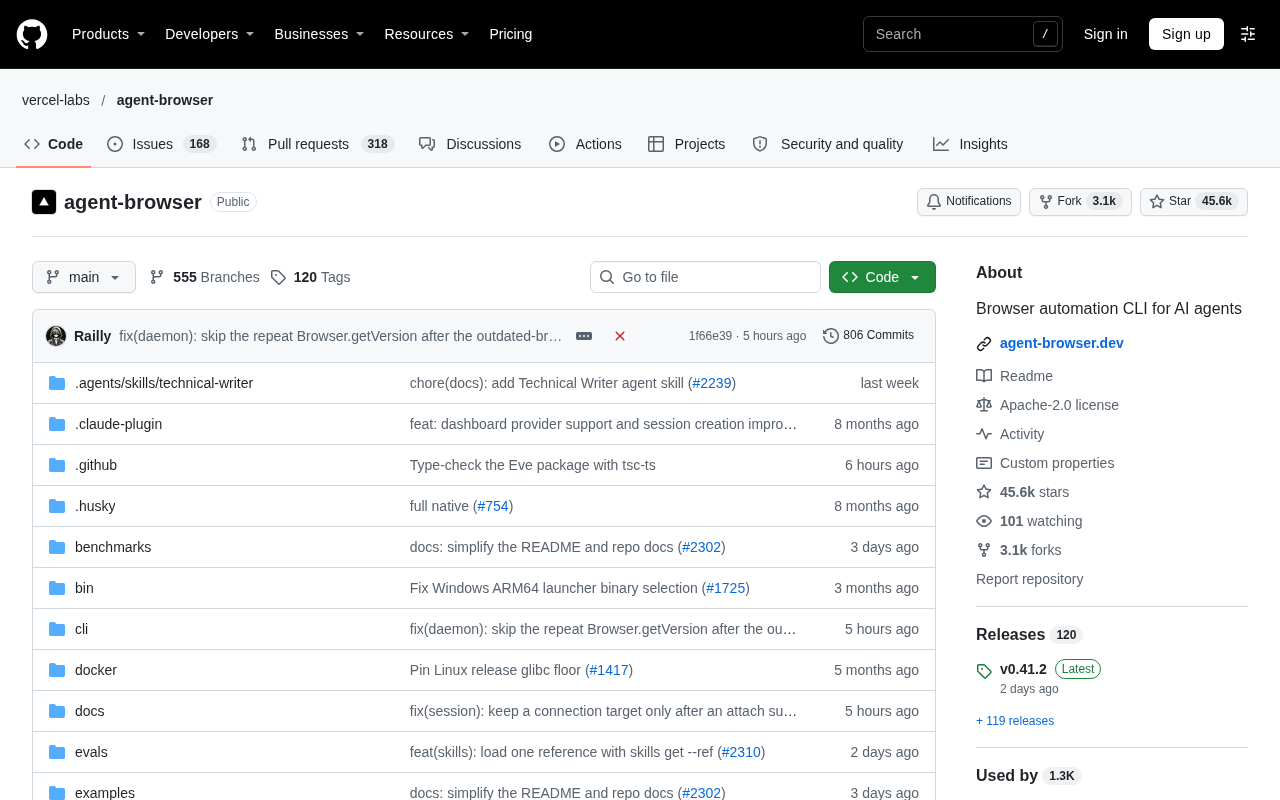
Agent-Browser: A Browser Automation CLI for AI Agents
Vercel Labs open-sources agent-browser, a Rust-built browser automation CLI designed for AI agents, with over 45,000 GitHub stars and command-line-first browser control.
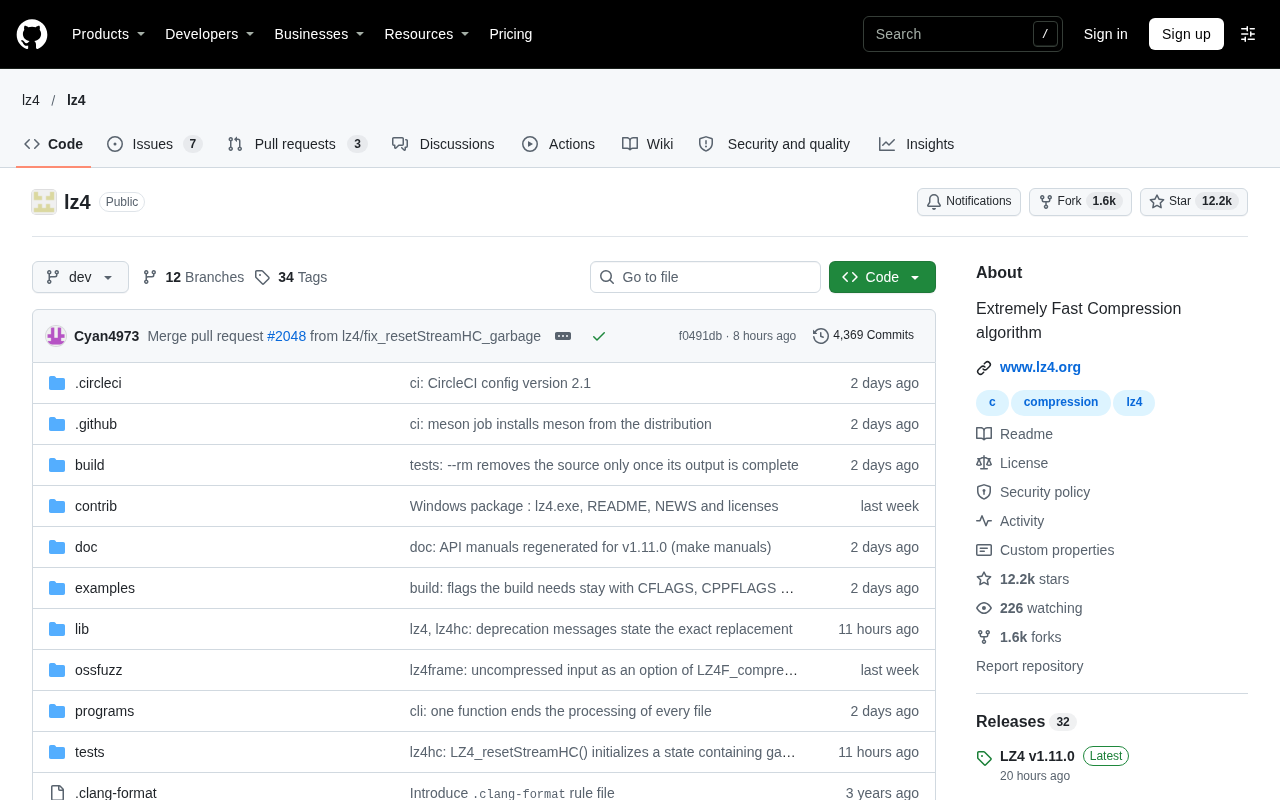
LZ4: The Open-Source Benchmark for Blazing-Fast Compression
Explore the LZ4 blazing-fast compression algorithm: its design philosophy, performance advantages, and wide use in the Linux kernel, databases, and more. How a 12k+ star open-source project became the speed benchmark.