Claude Code Environment Setup: Complete Guide to Node.js and NVM Installation & Configuration
Step-by-step guide to setting up Node.js via NVM as the foundation for installing Claude Code.
This guide walks you through setting up the runtime environment required for Claude Code. It covers why NVM is preferred over direct Node.js installation, how to install and configure NVM with environment variables, essential NVM commands for version management, NPM local vs. global installation differences, and switching to faster mirror sources for users in China.
Introduction
To use Claude Code for building an agentic programming environment, the first step isn't installing Claude Code itself — it's setting up the underlying runtime environment. Since Claude Code and its related components (Skills, MCP, etc.) are distributed and installed as Node.js packages, your computer must have a Node.js runtime environment in place first.
This article will guide you from scratch through the complete Node.js environment setup, including NVM version manager installation, environment variable configuration, NPM package manager usage, and switching to domestic mirror sources — laying a solid foundation for installing Claude Code.
Why Choose NVM Instead of Installing Node.js Directly
There are two mainstream approaches to installing Node.js:
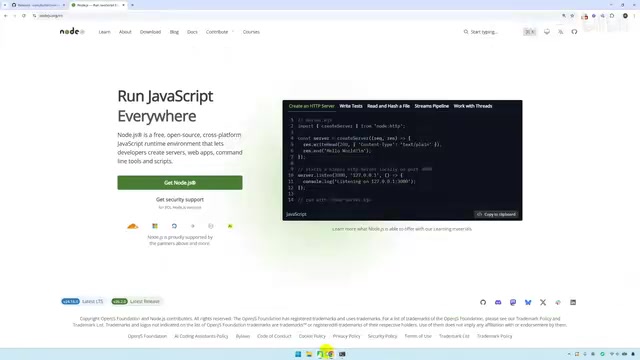
Option 1: Download the installer directly from the official website
Go to the Node.js official website, download the latest installer, and click "Next" through the wizard like any regular software installation. The advantage is simplicity, but the drawbacks are obvious — when a new Node.js version is released, you need to uninstall the old version before reinstalling, and you can't freely switch between different versions.
Option 2: Install via NVM (Recommended)
NVM stands for Node Version Manager. It allows you to install and manage multiple Node.js versions on the same machine and switch between them at any time. For developers, different projects may depend on different Node.js versions, making NVM's flexibility especially valuable.
For Claude Code usage scenarios, installing via NVM is strongly recommended. This way, if you encounter version compatibility issues later, you can quickly switch versions without unnecessary hassle.
NVM Installation and Configuration
Download and Install
- Go to NVM's GitHub releases page (github.com/coreybutler/nvm-windows/releases)
- Find
nvm-setup.exe(for Windows) in the Assets section and download it - Run the installer and follow the prompts to complete installation (you can customize the installation path; the default is under C:\Program Files)
If you're using Mac or Linux, refer to the installation instructions in the official NVM repository (github.com/nvm-sh/nvm). Typically, installation is done with a single curl or wget command.
Configure Environment Variables
After installation, you need to add NVM's installation path to your system environment variables. Here's how:
- Locate NVM's installation path (the directory you chose during installation)
- Right-click "This PC" → "Properties" → "Advanced system settings" → "Environment Variables"
- Find
Pathunder "System variables" and click Edit - Add NVM's installation path to the list
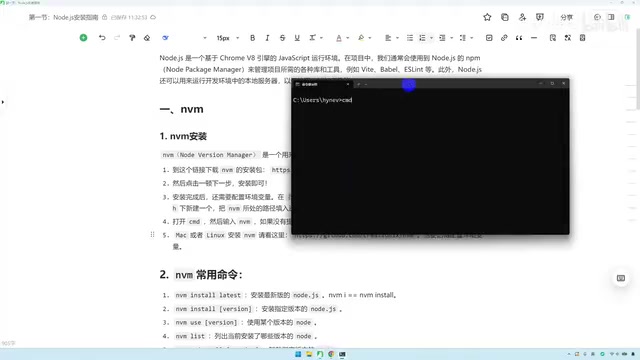
Once configured, open a CMD terminal and run the following command to verify the installation:
nvm --version
If the terminal displays a version number (e.g., 1.1.12), NVM has been installed successfully.
NVM Common Commands Quick Reference
Master these core commands to easily manage Node.js versions:
| Command | Function |
|---|---|
nvm install latest | Install the latest version of Node.js |
nvm install 24.4.1 | Install a specific version of Node.js |
nvm use 24.4.1 | Switch to a specific version |
nvm list | List all installed Node.js versions |
nvm uninstall 24.4.1 | Uninstall a specific version |
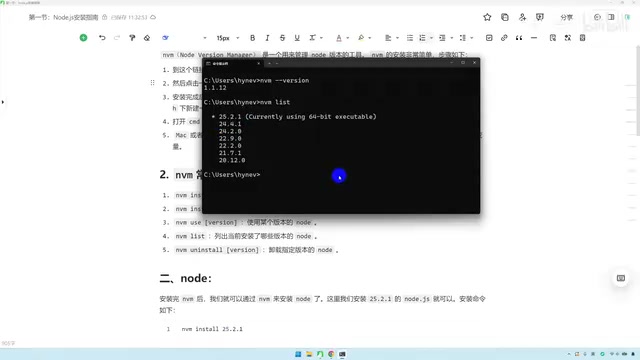
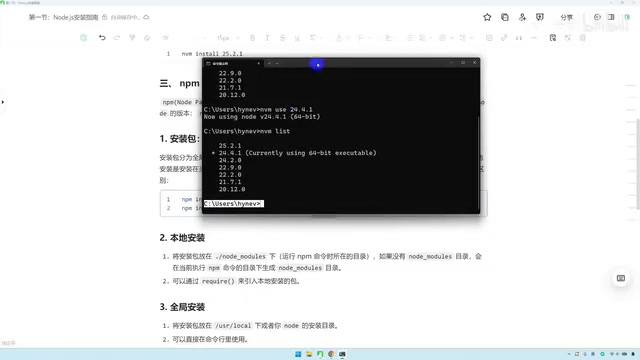
Here's a practical example: suppose nvm list shows multiple versions installed on your machine, with 25.2.1 currently active (marked with an asterisk), and you want to switch to 24.4.1. Simply run:
nvm use 24.4.1
Run nvm list again, and you'll see the active version has been switched successfully. The entire process requires no uninstallation — it's highly efficient.
Using the NPM Package Manager
What is NPM
NPM stands for Node Package Manager. It's the standard package management tool in the Node.js ecosystem. When you install Node.js via NVM, NPM is automatically installed alongside it — no extra steps needed.
You'll use NPM commands for installing Claude Code and its related MCP services, Skill extensions, and more.
Difference Between Local and Global Installation
NPM has two installation modes, and understanding the difference is crucial:
Local installation:
npm install <package-name>
The package is installed in the node_modules folder of the current directory, suitable for project-level dependency management. For example, running this command in a frontend project's root directory installs the dependency within that project.
Global installation:
npm install -g <package-name>
The package is installed in the system's global directory and can be used as a command-line tool from any location. Claude Code needs to be installed globally so you can invoke it directly from any directory.
Switch to a Domestic Mirror Source for Faster Downloads
NPM downloads packages from overseas servers by default, which may cause slow speeds or timeouts for users in China. The solution is to switch to the Taobao mirror source:
npm install -g cnpm --registry=https://registry.npmmirror.com
After running this command, you can use cnpm instead of npm to install packages:
cnpm install <package-name>
The Taobao mirror servers are deployed within China, offering significantly faster download speeds. While this step isn't mandatory, it's strongly recommended for users in China.
Summary and Next Steps
After completing all the steps above, your development environment has the foundational requirements for installing Claude Code. The core preparation chain is:
NVM → Node.js → NPM (/CNPM) → Claude Code
Every link in this chain is essential. NVM gives you flexible Node.js version management, Node.js provides the JavaScript runtime environment, NPM handles package installation and management, and ultimately enables you to successfully install and run Claude Code.
In practice, it's recommended to install the LTS (Long Term Support) version of Node.js rather than the latest Current version, to ensure better stability and compatibility. Once your environment is set up, you're ready to move on to installing Claude Code and diving into agentic programming.
Related articles
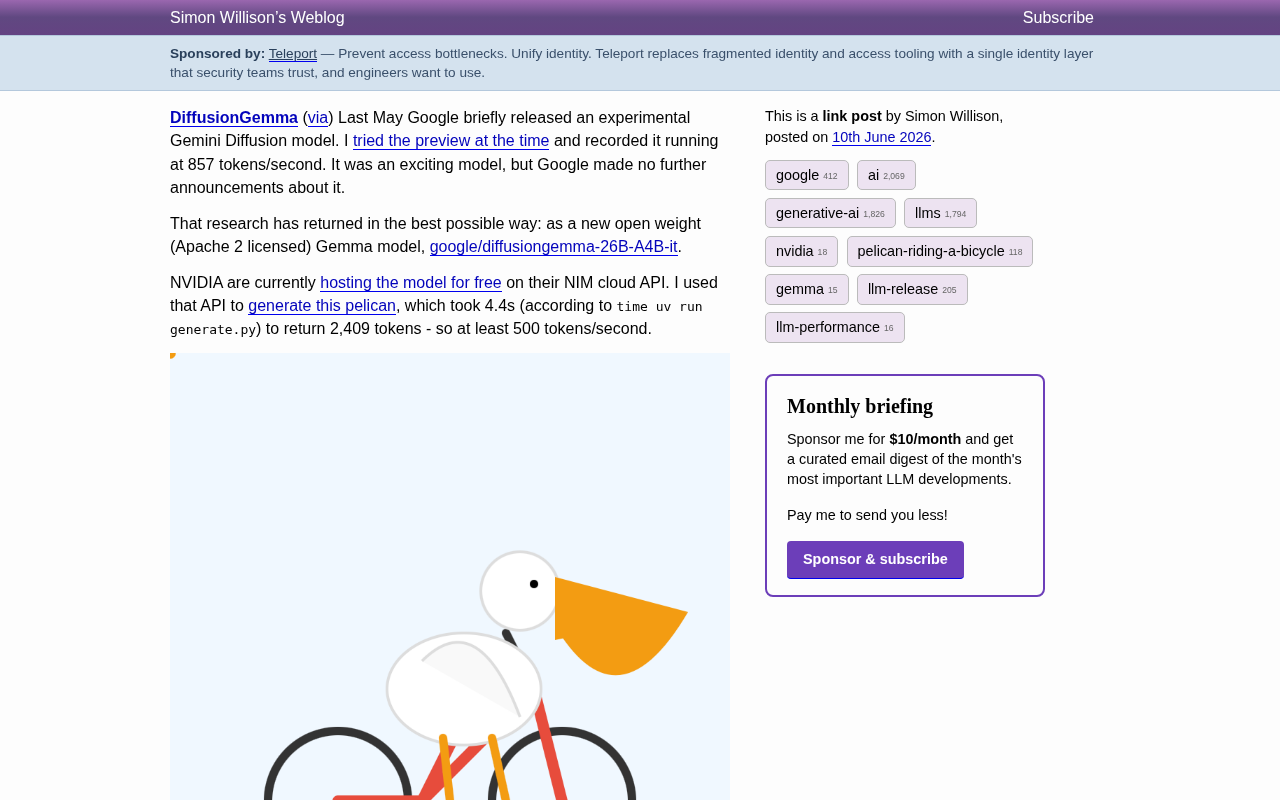
DiffusionGemma: Google's Open-Source Diffusion Language Model Exceeding 500 Tokens/s
Google releases DiffusionGemma, an open-source diffusion language model with Apache 2.0 license. The 26B-parameter MoE model achieves over 500 tokens/s in real-world tests.
Reviving a 28-Year-Old Quake 2 Custom …
Reviving a 28-Year-Old Quake 2 Custom Map with AI: New Possibilities in Digital Archaeology
A developer used AI tools to revive a 28-year-old Quake 2 custom map as a browser game, showcasing AI's new role in digital heritage restoration and game preservation.
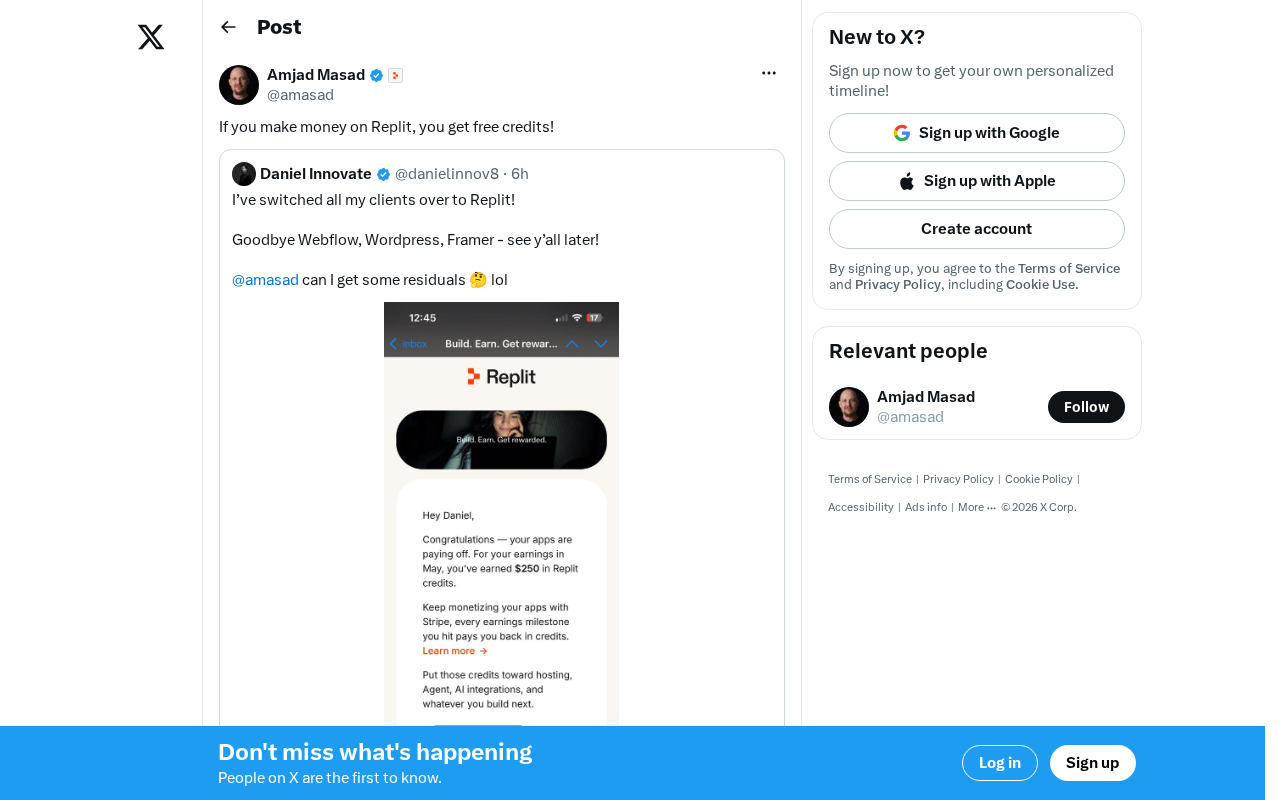
Replit's Revenue Incentive Policy Explained: Earn Money on the Platform, Get Free Credits
Replit's new revenue incentive policy gives developers free credits when they earn money on the platform. A deep dive into its impact on indie developers and the AI platform landscape.