Claude Code Installation & Configuration Guide: Setting Up Your AI Programming Environment from Scratch
A step-by-step guide to installing and configuring Claude Code for AI-assisted programming from scratch.
This comprehensive guide walks you through the complete Claude Code installation process, from setting up Node.js and Git Bash environments to configuring network proxies and API keys. It covers essential steps for beginners including npm global installation, environment variable configuration, proxy setup for users in China, and OAuth 2.0 login authorization, helping you quickly get started with this powerful AI command-line programming tool.
Introduction
Claude Code is one of the most talked-about AI programming tools today, attracting a large number of developers with its powerful code generation and comprehension capabilities. In the current AI programming tool ecosystem, tools generally fall into three categories: IDE plugins (like GitHub Copilot, Cursor), command-line tools (like Claude Code, Aider), and platform-based tools (like Replit Agent, Devin). Claude Code belongs to the command-line category, with its core advantage being the ability to directly manipulate the file system, execute terminal commands, read project context, and achieve end-to-end automation from code generation to project building. Compared to IDE plugins, command-line tools aren't limited to specific editors, making them better suited for complex multi-file refactoring and project-level tasks; compared to platform-based tools, they run in local environments, offering better data security and seamless integration with existing development workflows.
However, since it operates via the command line and involves Node.js environment and network proxy configurations, many beginners encounter various issues during the installation phase.
This article systematically walks through the complete installation and configuration process for Claude Code from scratch, covering environment setup, tool installation, network proxy, API key configuration, and every other critical step to help you quickly set up a working development environment.

Environment Preparation: Installing Node.js and Git
Key Points for Node.js Installation
Claude Code is a command-line tool that runs on Node.js, so you'll need to install Node.js first. Node.js is a JavaScript runtime environment built on Chrome's V8 engine that allows JavaScript to run on the server side, outside the browser. npm (Node Package Manager) is Node.js's default package manager and the world's largest open-source software registry, hosting over 2 million packages. Claude Code chose to build on Node.js primarily because its asynchronous I/O model is ideal for handling streaming responses from AI models, while npm's ecosystem convenience allows developers worldwide to complete installation with a single command.
Here are several key considerations:
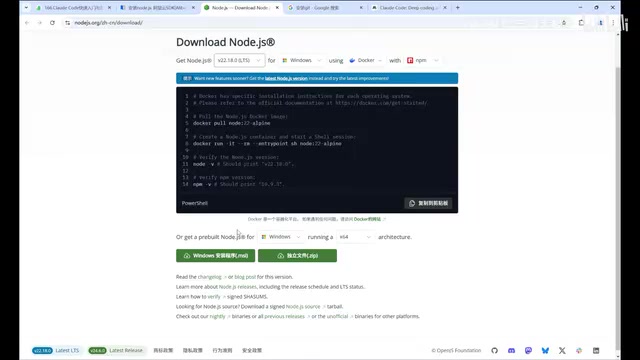
- Version requirement: Version 20 or above is recommended, preferably the LTS (Long-Term Support) version for better stability. LTS versions are released every two years with 30 months of maintenance support, making them more suitable for production environments than Current versions
- OS support: Linux, Mac, and Windows are all supported
- Installation method: Windows users can choose MSI installer packages (which automatically configure environment variables) or ZIP packages (requiring manual environment variable configuration); Mac users download PKG packages; Linux users download TAR.GZ packages
After installation, open your terminal and run the following commands to verify success:
node -v
npm -v
If you see version numbers in the output, your Node.js environment is ready.
Git Installation and Bash Environment Configuration
Claude Code requires a Bash terminal environment when executing tasks. Bash (Bourne Again Shell) is the default command-line interpreter for Unix/Linux systems, and virtually all development toolchains assume they're running in a Unix-like environment. Windows natively uses CMD or PowerShell, which differ significantly from Bash in syntax and command sets.
For Windows users, the Bash environment is typically obtained by installing Git — Git for Windows includes a MinGW (Minimalist GNU for Windows) environment that contains bash.exe, capable of emulating most Linux command-line behavior on Windows. When Claude Code performs file operations, project scaffolding generation, and other tasks, it relies on Bash scripts under the hood to invoke system commands, so Windows users must ensure the Bash environment is available and its path is correctly configured.
Verify after installation:
git --version
Important note: After installing Git, make sure to add the Git Bash path (typically C:\\Program Files\\Git\\bin) to your system environment variables. Without this configuration, Claude Code may throw errors when executing project generation, file operations, and other commands — this is a common pitfall for beginners.
Claude Code Installation and Network Configuration
Installing Claude Code via npm
Once your environment is ready, installation is just one npm command away:
# Linux/Mac (requires sudo privileges)
sudo npm install -g @anthropic-ai/claude-code

# Windows
npm install -g @anthropic-ai/claude-code
The -g flag here means global installation, which installs the package to a system-level directory (typically /usr/local/lib/node_modules on Linux/Mac, or %AppData%/npm on Windows) rather than the current project's node_modules folder. Globally installed packages register executables in the system PATH, making them callable as command-line tools from any directory. Linux/Mac requires sudo privileges because the global directory is typically owned by the root user. If you prefer not to use sudo, you can manage your Node.js installation through nvm (Node Version Manager) or modify npm's global installation path.
If download speeds are slow, you can configure an npm mirror registry to accelerate downloads. After installation, run the following command to verify:
claude --version
Seeing a version number (e.g., 1.0.83) indicates successful installation. Additionally, claude --help shows all available commands and parameters.
Network Proxy Configuration (Essential for Users in China)
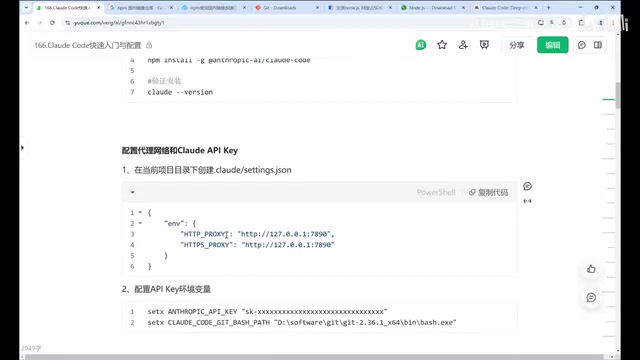
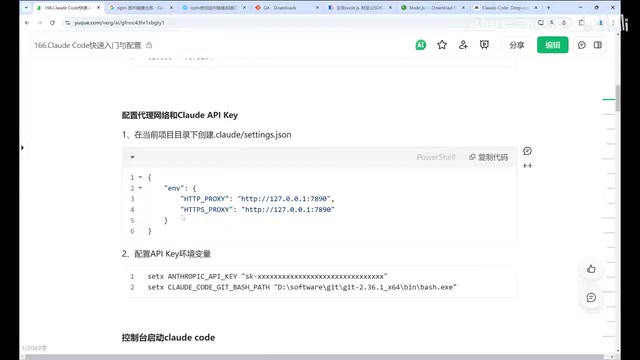
Due to network restrictions, users in China may encounter regional restriction errors when using Claude Code directly. The solution is to create a proxy configuration file in your project directory:
project-root/
└── .claude/
    └── settings.json
In settings.json, configure the HTTP/HTTPS proxy address pointing to your local proxy service port.
From a technical standpoint, an HTTP/HTTPS proxy is a network intermediary service where client requests are first sent to the proxy server, which then forwards them to the target address. In development scenarios, proxy configuration is typically specified through environment variables (HTTP_PROXY, HTTPS_PROXY) or application-level configuration files. Claude Code's .claude/settings.json is a project-level configuration with higher priority than global settings — this design allows different projects to use different network policies. Proxy services typically listen on local ports (such as 7890, 1080, etc.) and establish tunnels via SOCKS5 or HTTP CONNECT protocols to encrypt and forward traffic to overseas nodes.
If your command line already has global proxy configuration, or you're operating on an overseas server, you can skip this step.
API Key Configuration and Login Authorization
Two Ways to Obtain an API Key
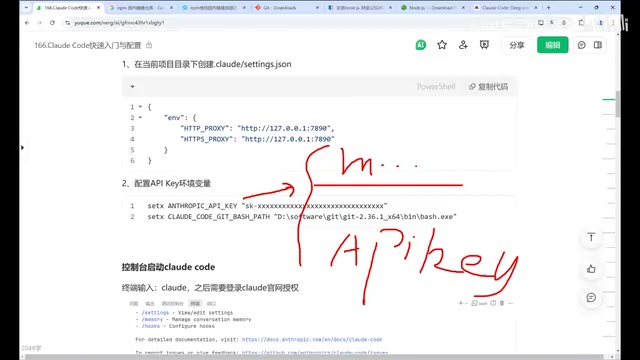
An API Key is a simple authentication method — essentially a long string token that the server validates to confirm the requester's identity and permissions. There are two main ways to obtain the API Key needed for Claude Code:
Option 1: Official Subscription
Go to the Claude website to register an account. There are two payment models:
- Subscription (monthly fee): Suitable for heavy users, with a fixed monthly fee and unlimited usage
- Pay-as-you-go (API Key): Suitable for occasional users, paying only for what you use. In pay-as-you-go mode, each API call is billed based on the number of input and output tokens, where tokens are the basic units that large language models use to process text — in English, each word corresponds to roughly 1-2 tokens, while in Chinese, each character corresponds to approximately 1.5-2 tokens
Option 2: Third-Party Proxy Services
Some third-party service providers in China offer Claude API forwarding services. When using third-party services, in addition to configuring the API Key, you'll also need to set an API Base URL environment variable to direct requests to the third-party's API address. Refer to each provider's documentation for specific configuration methods.
Login Authorization Process Explained
Claude Code's login authorization process uses the OAuth 2.0 protocol — the most widely used authorization framework on the internet, which allows third-party applications to access user resources with user authorization without directly exposing account credentials.
When you run the claude command for the first time, you'll enter a guided configuration flow:
- Choose interface theme: Light or dark mode options
- Login authorization: Redirects to the Claude website for account authorization
- Obtain Token: After successful authorization, the authorization server issues an Access Token, which Claude Code automatically writes to the local
~/.claude.jsonconfiguration file for subsequent requests
If using a custom API Key (such as one provided by a third-party service), you'll need to configure the environment variables in advance, then select "Use current environment variable Key" in the guided options to complete the configuration.
Verifying Successful Installation
Once all configuration is complete, run the claude command in your project directory. If you see the following information, your environment is fully configured:
- A "Welcome to Claude Code" greeting message
- The current workspace directory path
- An interactive command input interface
At this point, the Claude Code installation and configuration process is complete, and you can start experiencing the powerful capabilities of AI-assisted programming.
Preview of Advanced Topics
Completing the basic installation is just the first step. To truly unleash Claude Code's potential, you'll need to master the following advanced techniques:
- Core mode switching: Choosing the right working mode for different scenarios to maximize programming efficiency
- Claude MD global memory: Enabling AI to continuously understand project context, avoiding repetitive explanations
- Session and task management: Properly splitting tasks to prevent conversations from spiraling out of control
- Resource monitoring and batch tasks: Managing usage pace to effectively save Token costs
- Common pitfalls and advanced tips: Optimizing prompts to help Claude understand your intent more accurately
This tutorial series covering beginner to advanced topics will be continuously updated — bookmark and follow along.
Related articles
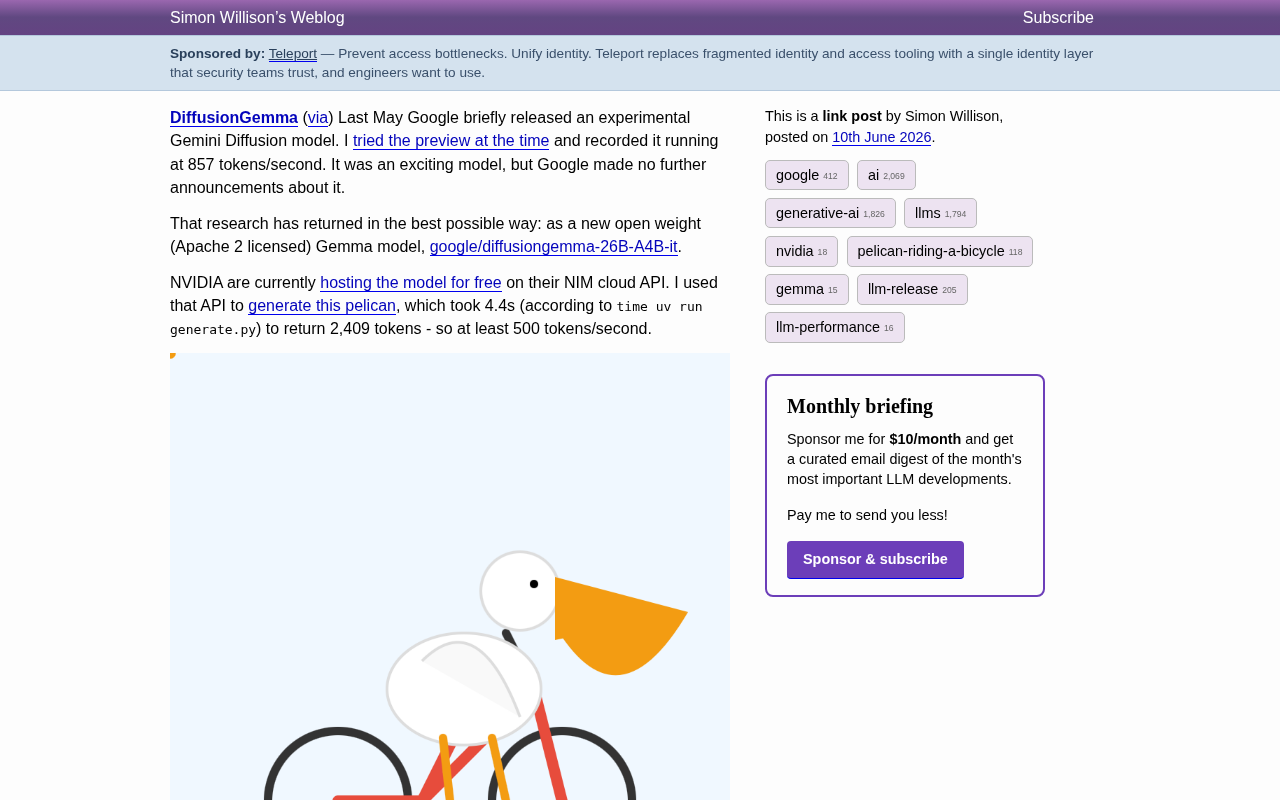
DiffusionGemma: Google's Open-Source Diffusion Language Model Exceeding 500 Tokens/s
Google releases DiffusionGemma, an open-source diffusion language model with Apache 2.0 license. The 26B-parameter MoE model achieves over 500 tokens/s in real-world tests.
Reviving a 28-Year-Old Quake 2 Custom …
Reviving a 28-Year-Old Quake 2 Custom Map with AI: New Possibilities in Digital Archaeology
A developer used AI tools to revive a 28-year-old Quake 2 custom map as a browser game, showcasing AI's new role in digital heritage restoration and game preservation.
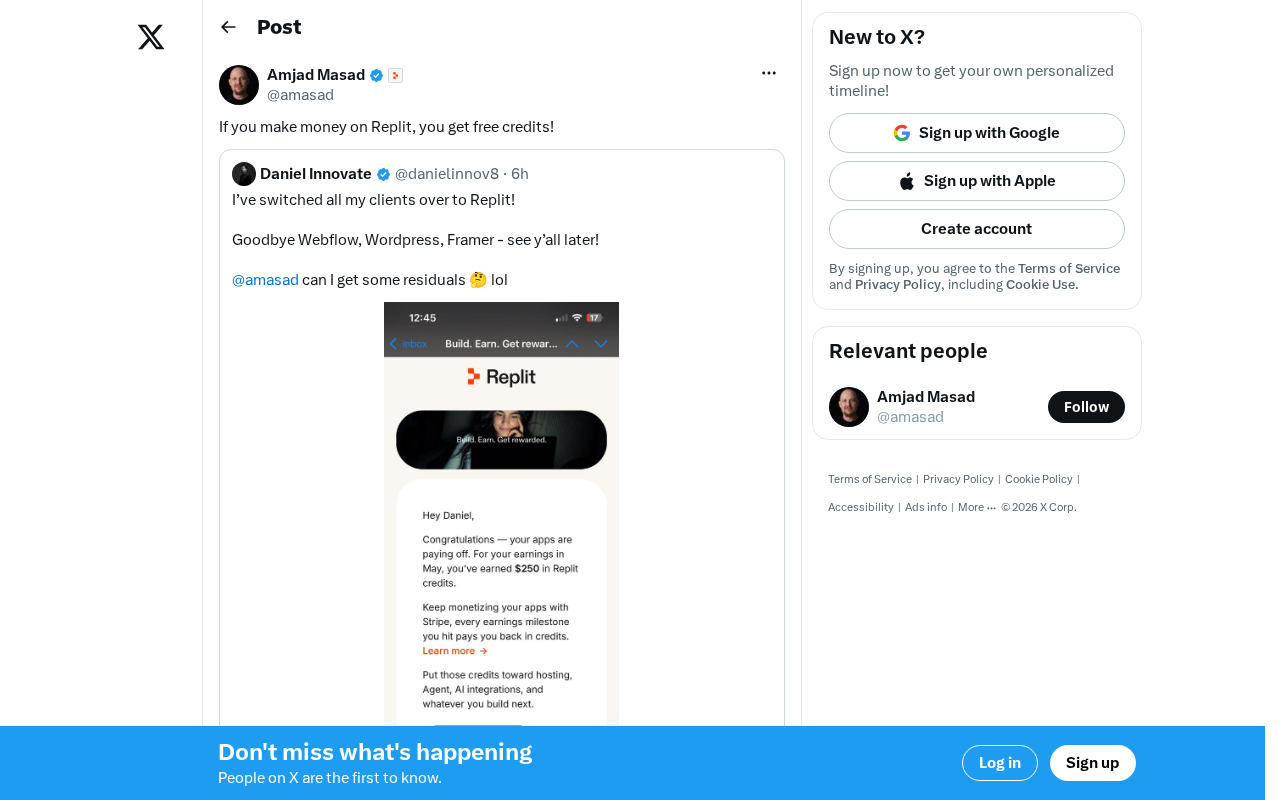
Replit's Revenue Incentive Policy Explained: Earn Money on the Platform, Get Free Credits
Replit's new revenue incentive policy gives developers free credits when they earn money on the platform. A deep dive into its impact on indie developers and the AI platform landscape.